Spiers Style Shoulder plane – 1
It seems appropriate to start this blog whilst I have a picture of these planes on my website home page here.
I don’t see myself making any more shoulder planes for some time. This style of plane is the only Spiers plane that appeals to me; in fact it is probably my favourite shoulder plane. The construction with its components is very much like the Norris A7 but has the shape I prefer. In the making of the Spiers I have had to make a lot of new tooling – for just six planes. As you follow this blog you will see some of my hidden work.
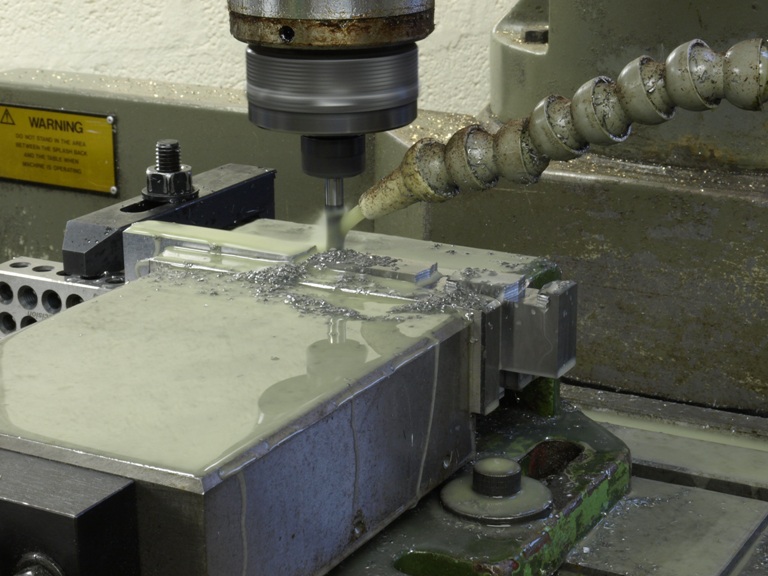
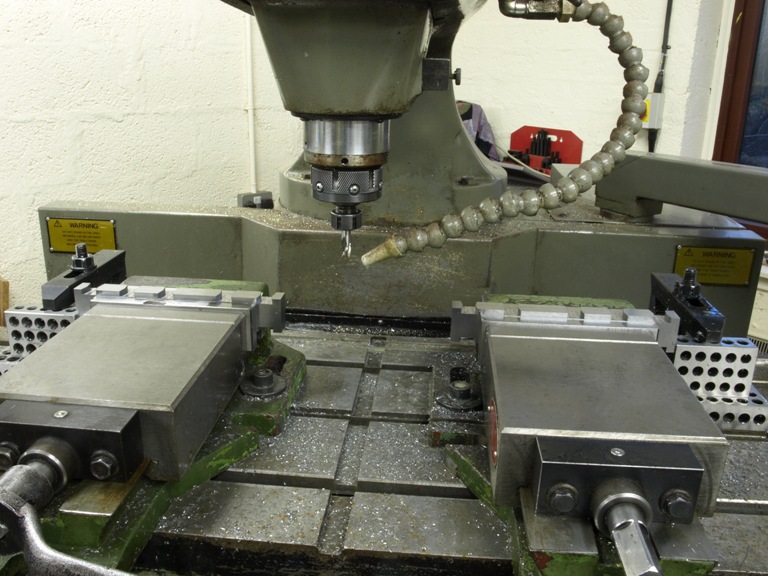
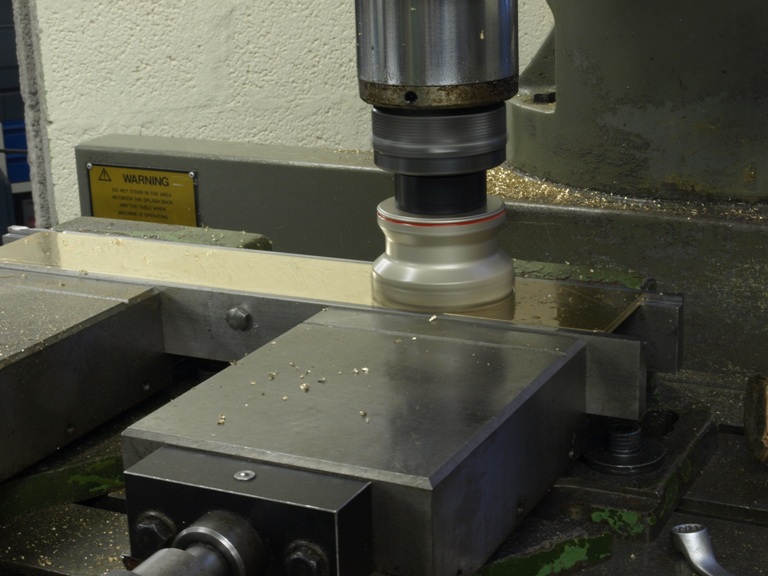
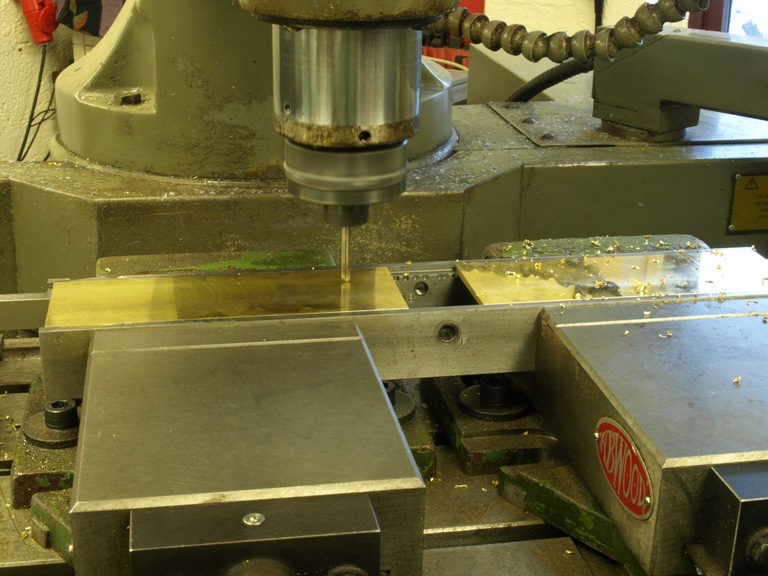
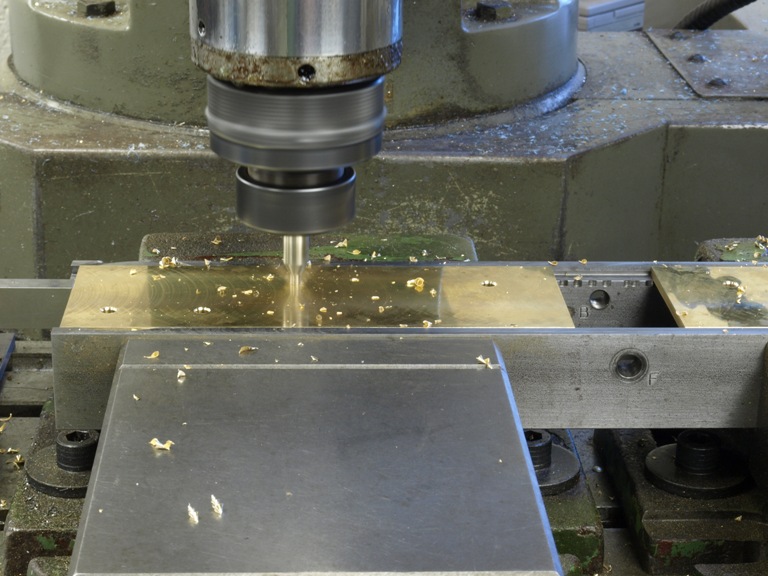
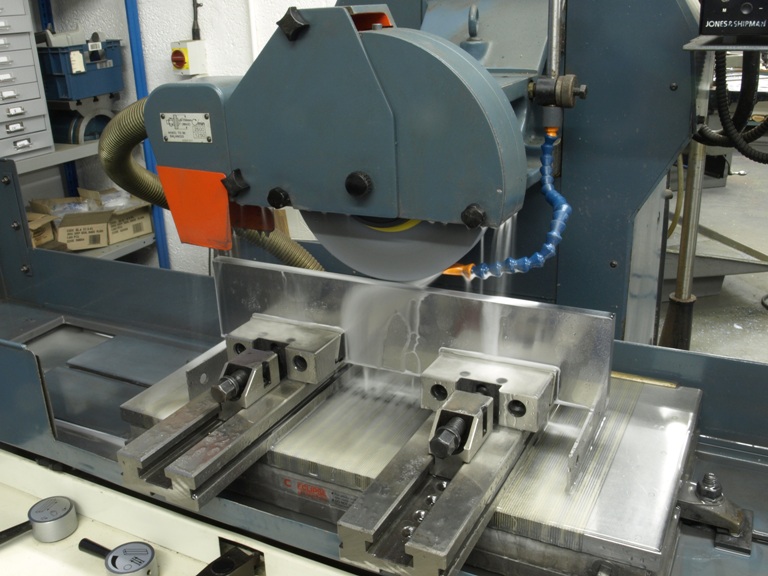
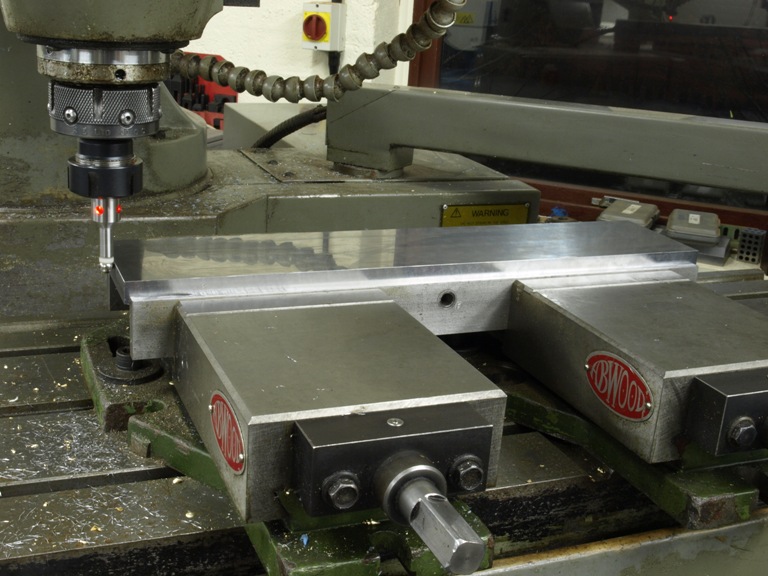
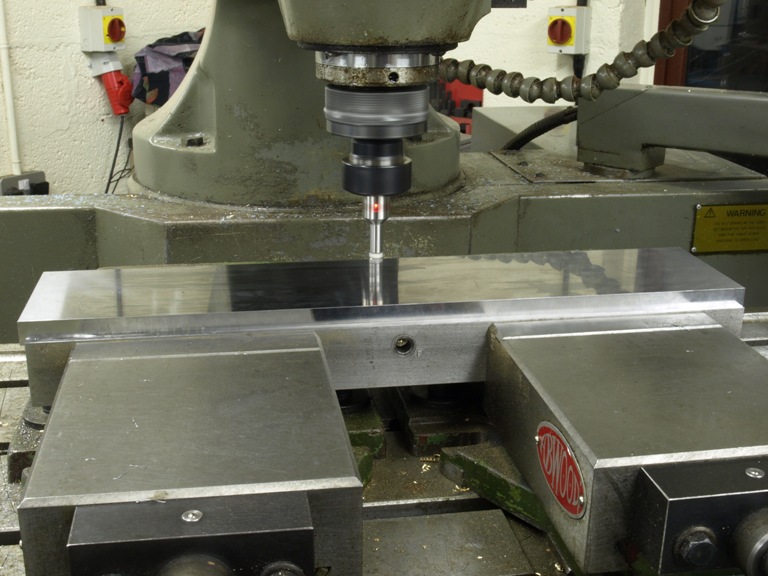
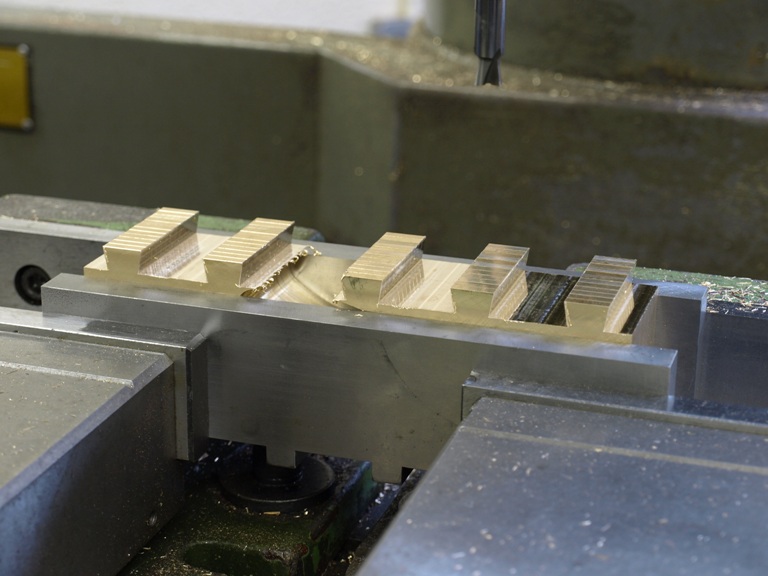
The following pictures show my familiar dovetailing of the bottoms being milled in pairs back to back so that I can form a compound dovetail. Please note that all the bottom blanks have been cut and precisionally ground all round in one piece (not separated at the mouth) at this stage.
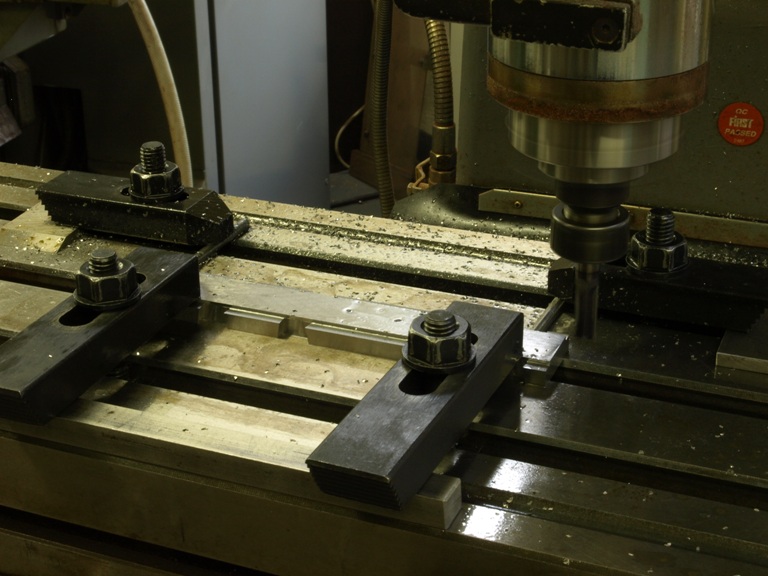
Below shows one of the bottoms being shouldered/rebated at the dovetails. This system has always been used in my shoulder planes and is now being introduced into my other infill planes. This has an advantage of providing a positive support between the dovetails should the plane be bumped or knocked in the side. It also provides a light stop.
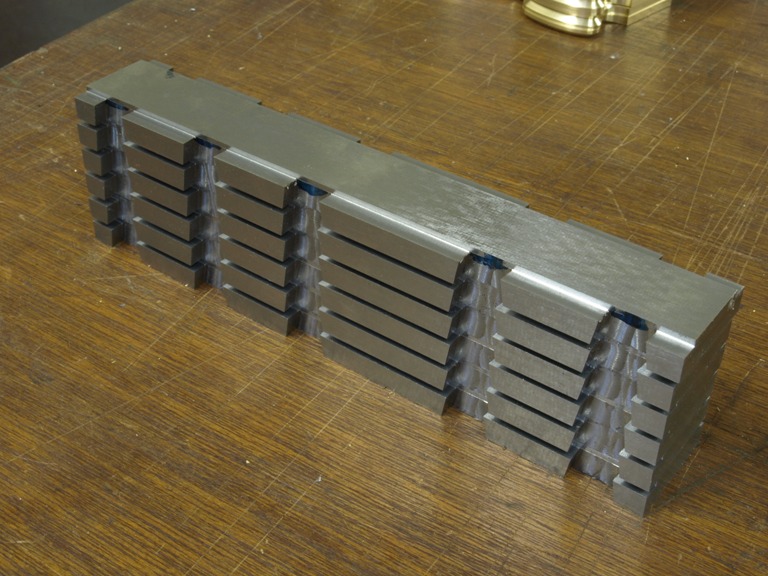
The bottoms ready for cutting in two and working the throat and bed area.
Planing down the naval brass sides to the required thickness.
When the plane is finished the sides will be 5/32” thick as with most infills of this type, including the jointers. The problem is that you cannot buy these bronze alloys at this thickness. The choice is usually 3mm or 6mm. One too thin, the other too thick. Most of the modern infill planes that I have seen made up with brass sides look insubstantial as they have had to manage with the 3mm, and this is before the plane sides have been flushed. The only way is for me to buy the nearest oversized material (i.e. 6mm) and plane to the required thickness on both sides.
In the hay days of infill planes most sides were cut from standard gauges which came in a better selection of thicknesses. However, I don’t think there were many brass sided planes around then.
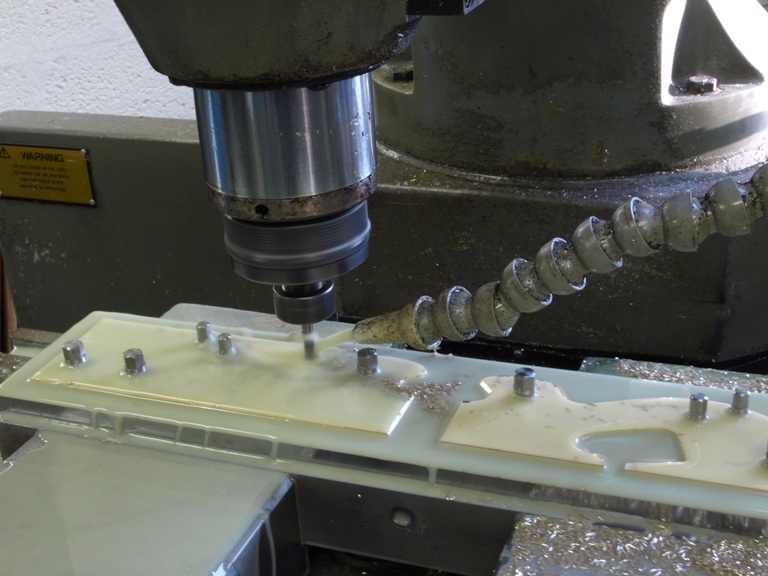
After thicknessing, the material is cut up for the sides and then the rivet holes are CNC drilled into the sides, with a slight taper. These rivet holes are also used for the work holding for all the shaping.
Grinding a work holding plate for the routing of the plane sides. As with most of my tooling everything is precisionally ground.
Setting up the work holding plate for drilling and tapping. Then it is ready for screwing down the plane sides for profiling and chamfering.
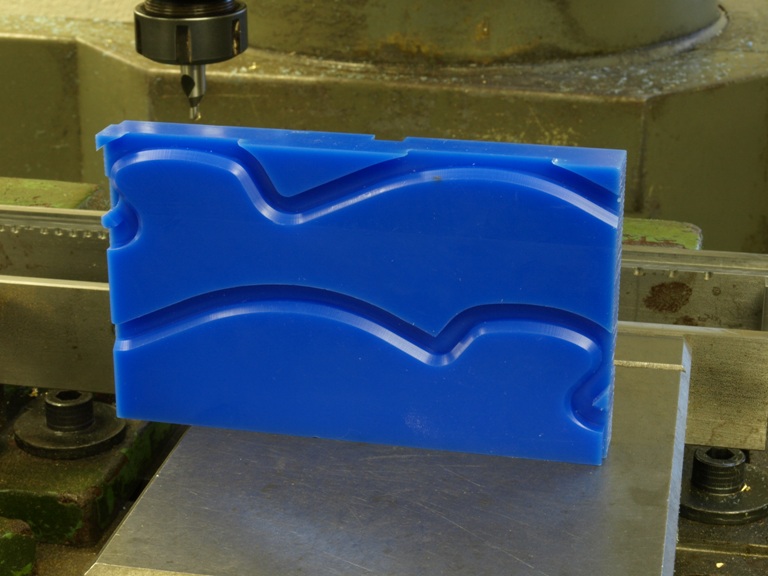
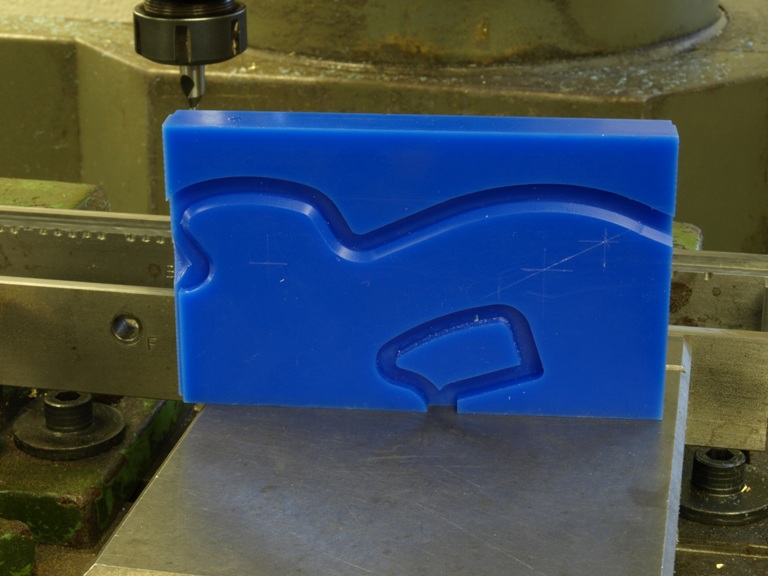
These are contour tests in wax, after programming the shape of the sides. These pictures show the contours with the chamfers and with the throat cut out.
After all the adjustments to the side contours have been made, I make a tracing on the work holding jig before actually cutting.
The plane sides have been secured with purpose made screws using a matching 60 deg taper predrilled for the rivet holes in the sides. Once the cutting commences things are quite fast and easy because of the detail preparation work. The accuracy and detail is only the result of all this work.
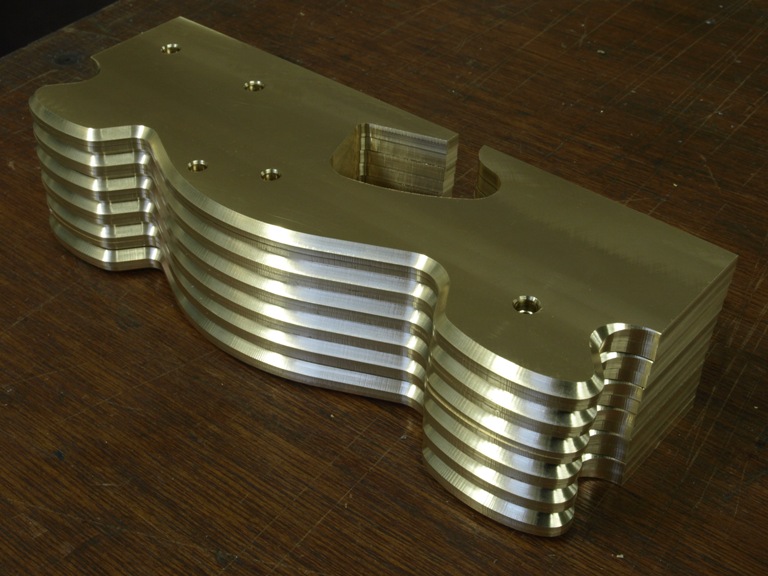
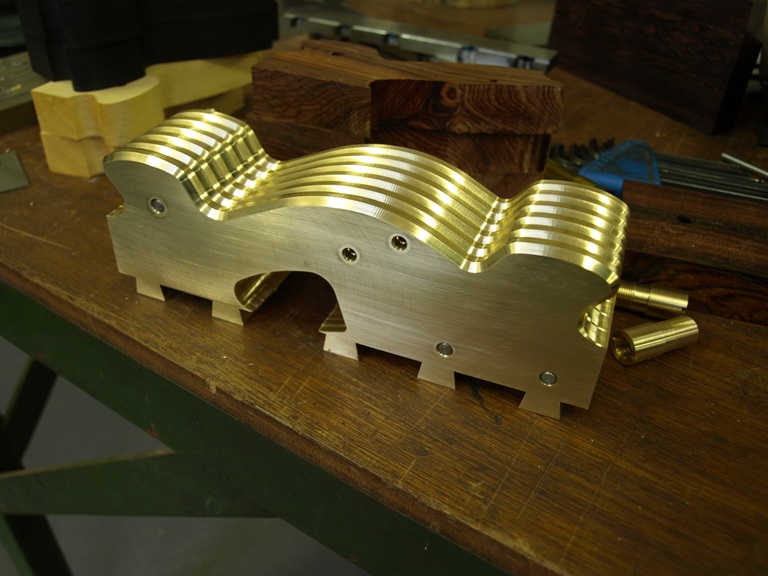
The plane sides have been dowelled together ready for dovetailing.
Dovetailing now complete.
Torres! Quality control.
