In the beginning when I set about making my first dovetail infill plane there wasn’t a lot to go on. There certainly wasn’t a text book on plane making. The A1 14 ½” Norris smoothing plane is what first drew my attention to plane making. The first plane I made was a 15 ½” panel. Having decided I wanted to build Norris type planes I spent 3 years researching these tools and I have come to know many collectors and found them extremely helpful. I also had the opportunity to examine these planes closely and have been involved in a lot of restoration. In the time of my working with these planes I didn’t find a single plane that could match up to its reputation. Basically the quality and work standard to put it bluntly was quite appalling with the exception of one, which I saw a nice picture of, a 17 ½” A1 was just enough to inspire me to take the project up. It would seem that in the heyday of the infill plane that the people building these dovetailed infill planes were working under a considerable amount of economic pressure with poor tooling and equipment. Probably in conditions similar to a sweat shop.
My aim is not to discredit these people but to take this product and build it to the very highest standards possible. Without any financial constraints, over the years I have developed my workshop with a number of machine tools which could probably receive criticisms based on ignorance, as my aim is purely for precision and perfection which these machines play a great part in. I hate to disappoint those people who think I can set a dial and the planes fall out the other end of the machine in the style of Heath Robinson. Although the machining is very simple when it is running, the hard part is getting there. All this invisible work becomes part of the void in people’s thinking and leads to lack of understanding. Then when the machining is done the other work starts – this can mean hours of carving, filing and polishing. When it comes to flattening it is a story of its own.
Most of the following pictures will be based on a A1 14 ½” plane, I may use pictures from other planes where I need extra examples.
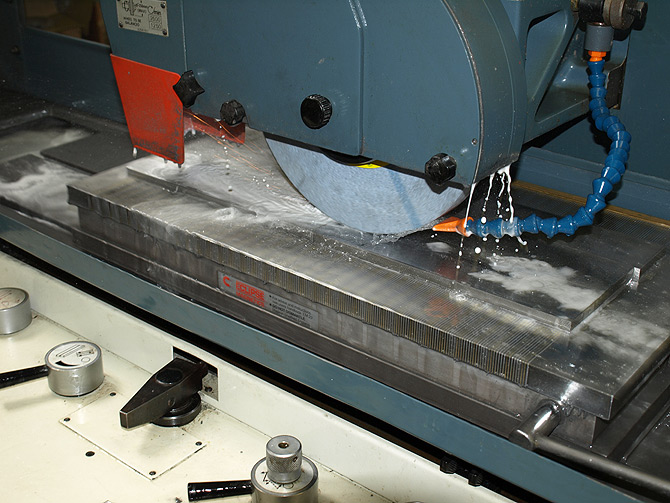
(e.g. grinding picture is of No 982 bottoms). This picture shows the bottoms being surface ground to give me a starting point.
The material that I am using is hot rolled mild steel and comes in either bar or sheet form. It is ductile and has no stresses so this material can be worked easily without fear of movement.
The infill plane seems to be more of a sculpture than a technical innovation and which is coveted for reasons of vanity. I have tried in my designs to deal with some of the weaker points.
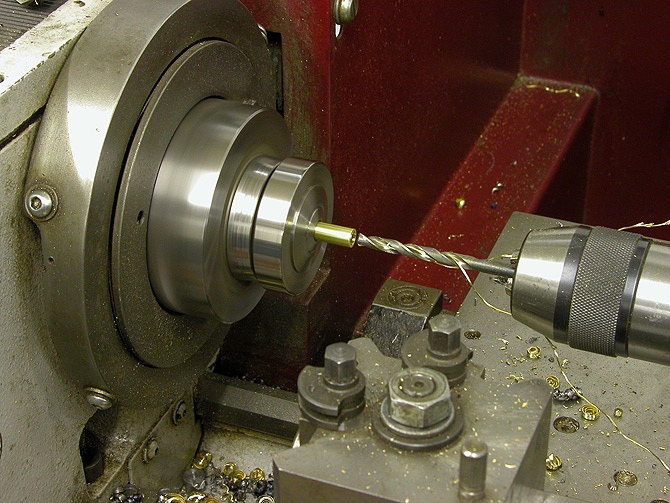
Brass spacer being drilled for the 7/32” mild steel rivet.
The original infill planes never used metal spacers and just riveted straight through the sides of the wood. It would seem that modern makers are also avoiding the use of spacers. I personally put a lot of store in the use of these spacers as they will be the only support for the plane sides which are already loaded with tension, should the wood infill give up some of its moisture and shrink.
I have no secrets in my methods. It just takes a lot of dedication to achieve this much work and detail.
A1 14 ½” panel
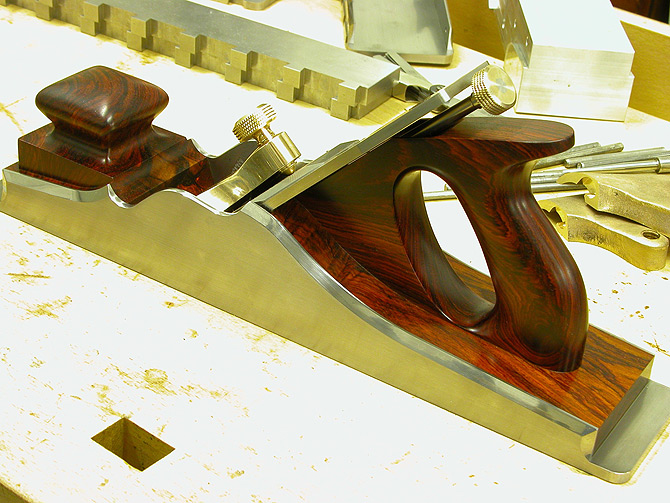
This is my long awaited A1 14 ½” panel plane.
The object in all my planes is to make it better than the ones that preceded it and the standard can only go up. This high standard can be seen from the close up photography and illustrations on this site . I go to a great deal of effort to achieve this high standard and you won’t find its like in other infill planes.

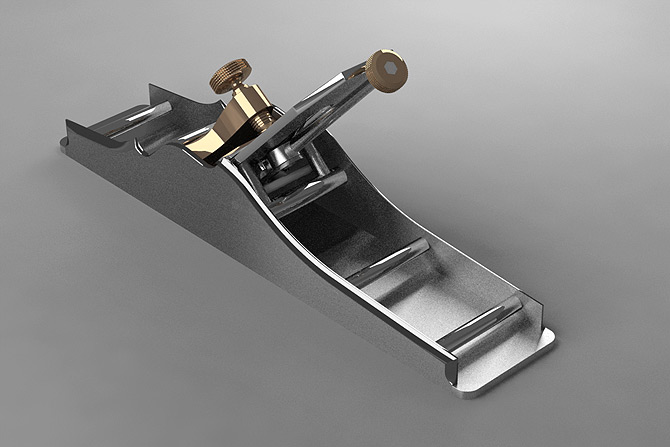
Notice that these sleeves are shown in steel but I usually use brass.
The riveting passes through metal sleeves which gives positive support and spacing to the sides (the illustration just gives an image without the wood). Without these spacers there would only be wood which is dimensional unstable which would shrink with moisture loss which is a common situation. The antique planes usually reflect this with the rivets raised.. When the wood does shrink and the sides, which are always under tension as a result of the rivet peining, move inwards as this tension is released. So as the tops of the sides move in, the bottom also flexes and becomes convexed. Of course the opposite effect would be caused by humid conditions, with more moisture present in the wood, the wood will expand, this will push the sides out in my planes and everyone else’s as nothing can hold that force. By using these spacers at least I can deal with the shrinkage but it is essential that all wooden infill planes are not exposed to dampness or too much humidity.


