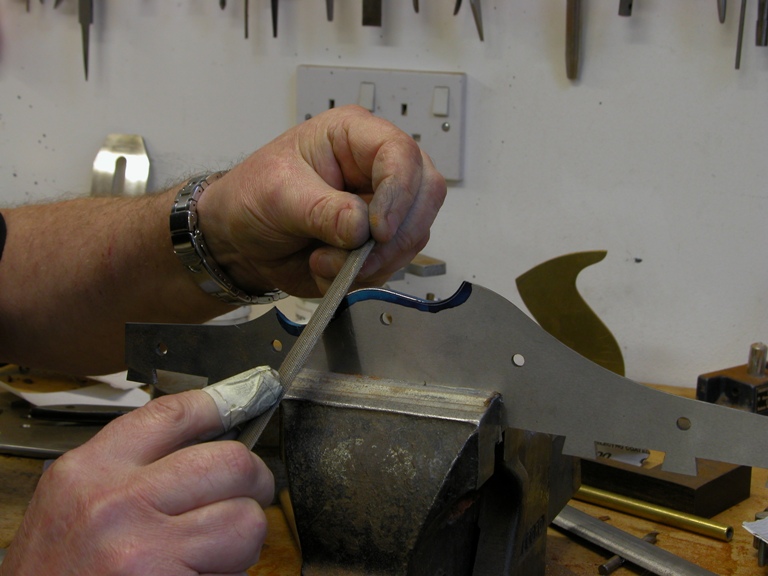
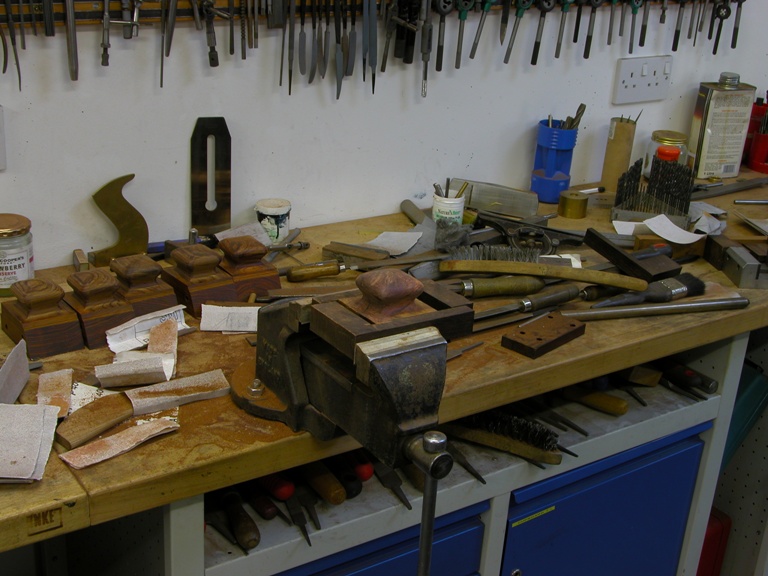
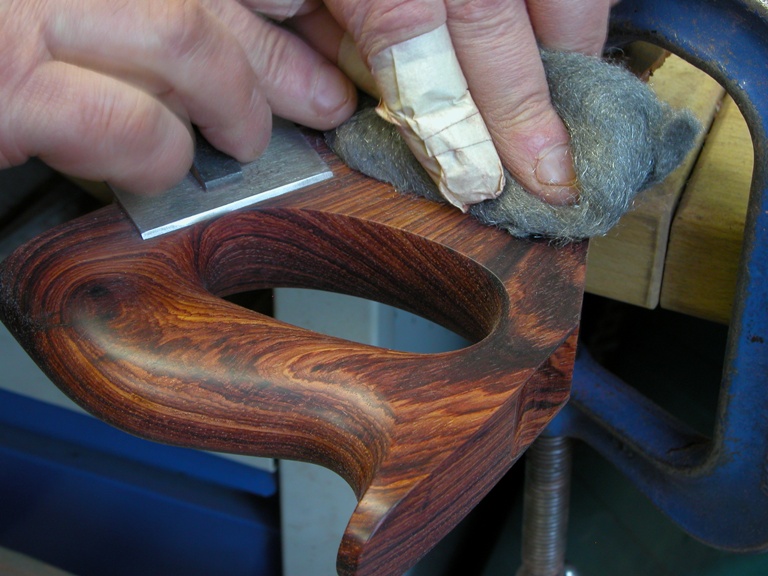
The cupids bow section needs a slight camber similar to that of a carriage roof. This needs to be done by hand.
Note that the edge forming should be blended where it contacts the rear of the front bun.
Final closing on my A1 dovetail smoothing plane.
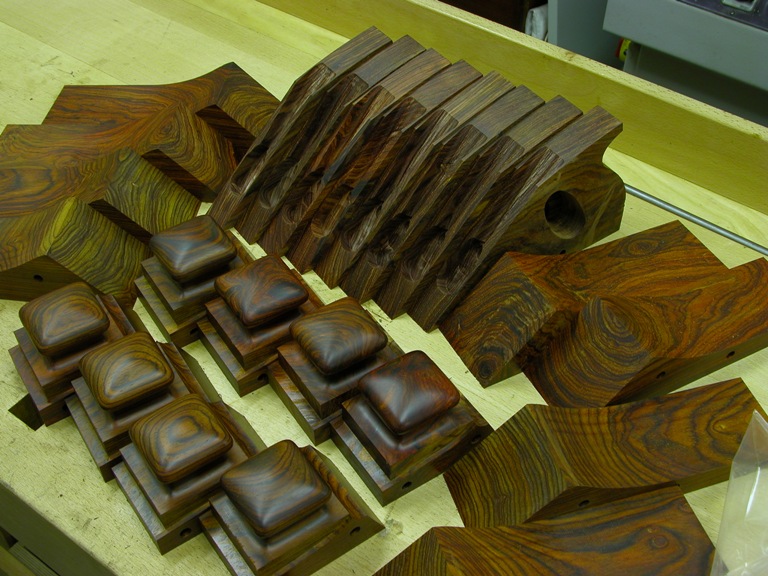
As with all my infills the work is roughed out between 3-6 months before use.
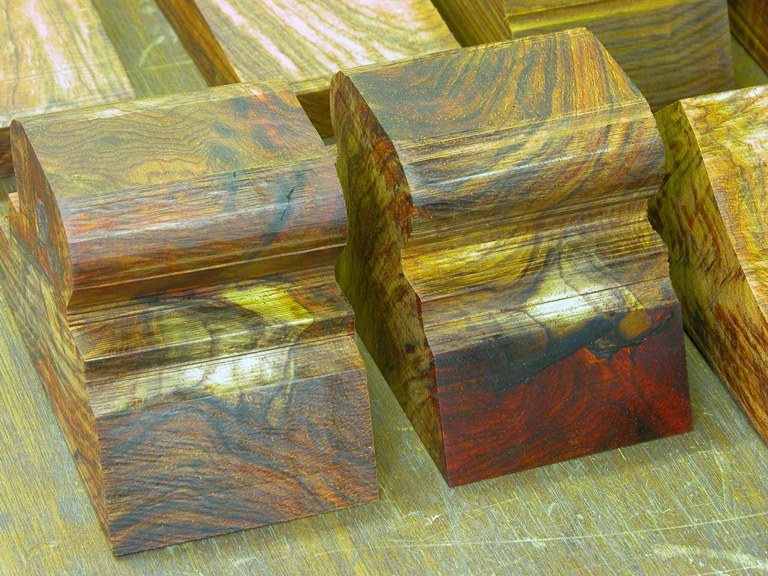
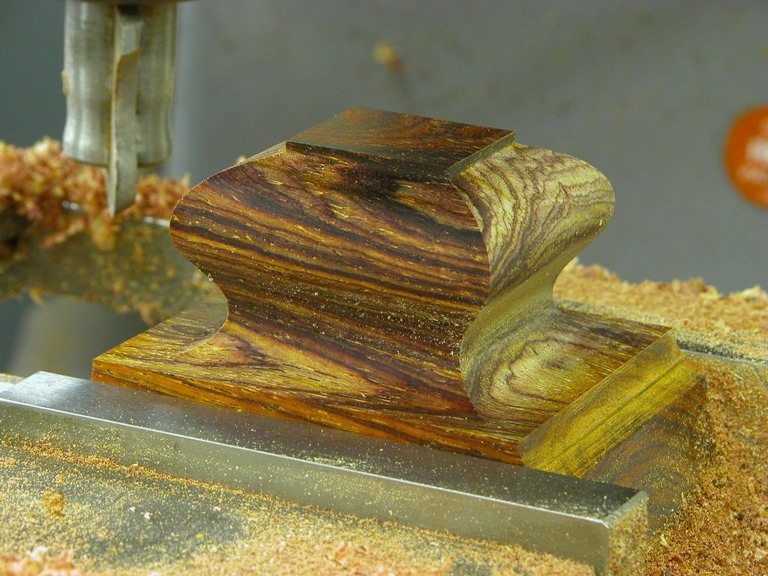
Moulding to bun.
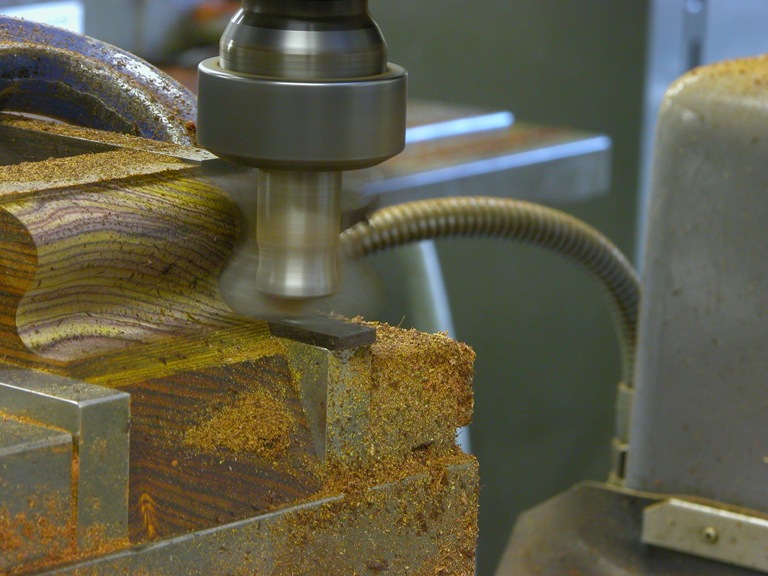
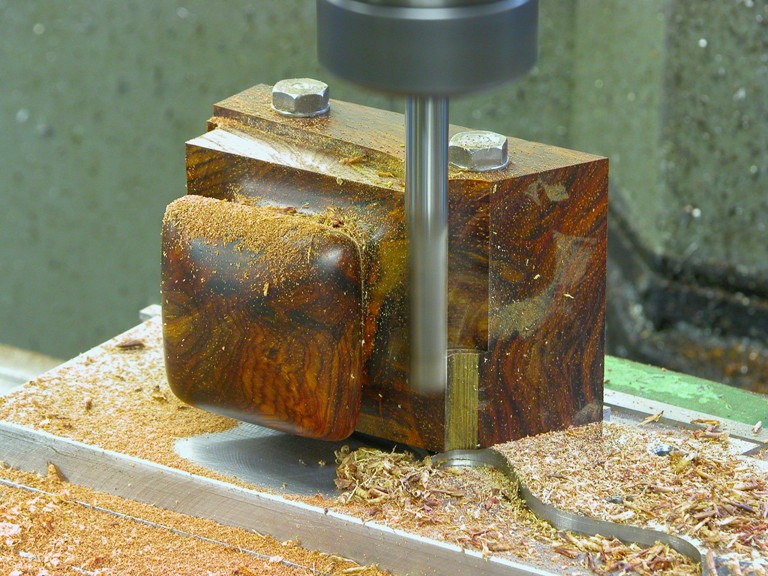
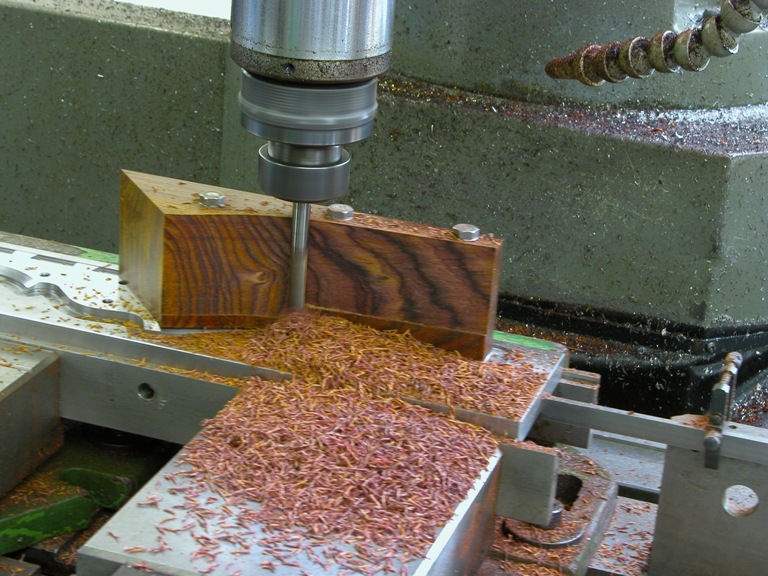
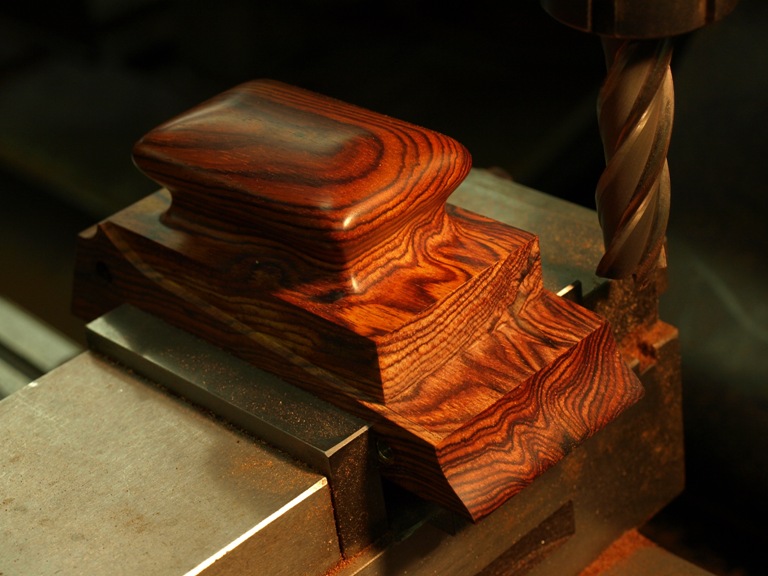
Completion of moulding. I prefer to do this method on a milling machine using tools I have made myself. The advantages of the mill are that everything is true and dead centre. All my machines are equipped with DROs.
Part of the cupids bow contour which runs into the front bun.
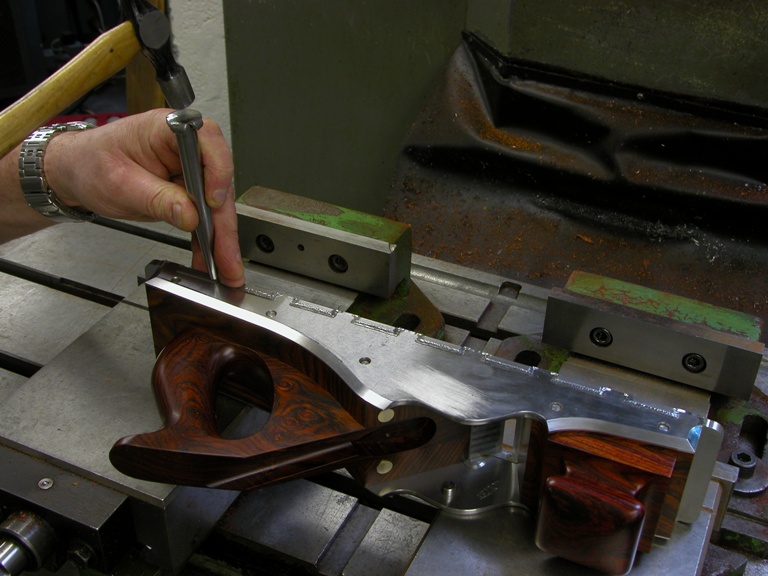
Picking up the side contours whilst the work holding tool is still in place. It may seem over the top but if I can work the contours to the exact size and shape plus 5 thou then when it comes to fitting and flushing I won’t lose any of the shape and sharpness of the sides. Its these little things that suddenly become a lot more important in the grand scale of things.
Yes, hand work! Now my secret is out.
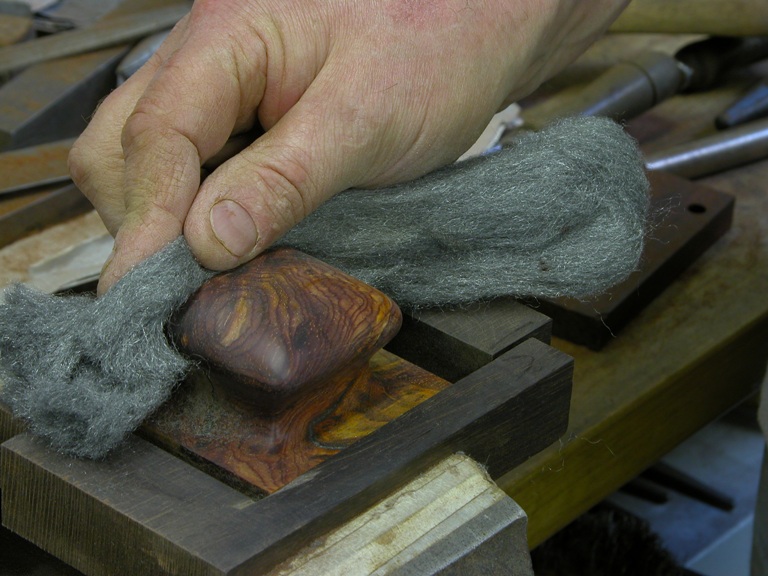
The final polishing even though it is only part of the bun. As you will notice everything has to be done in an exact sequence so that you can have that sharpness which so many people miss.
Final fitting of the front bun so once its assembled for the last time there will be little spoiling on the final flushing and polishing.
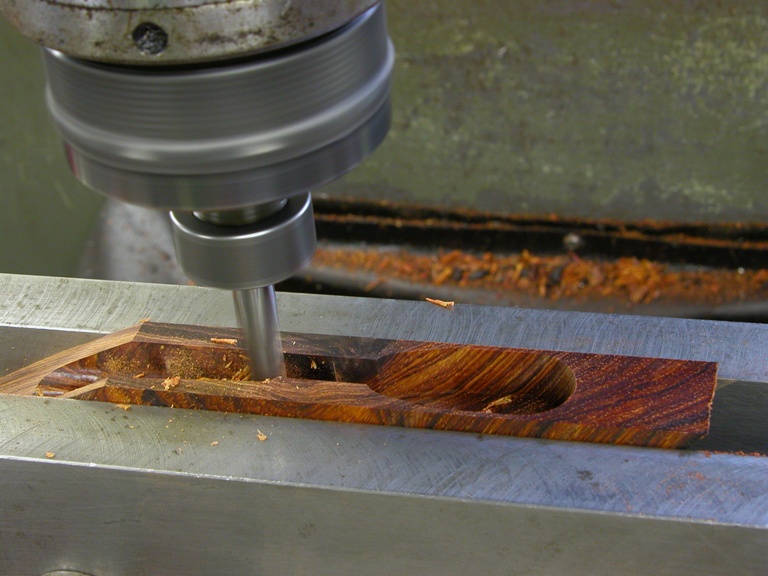
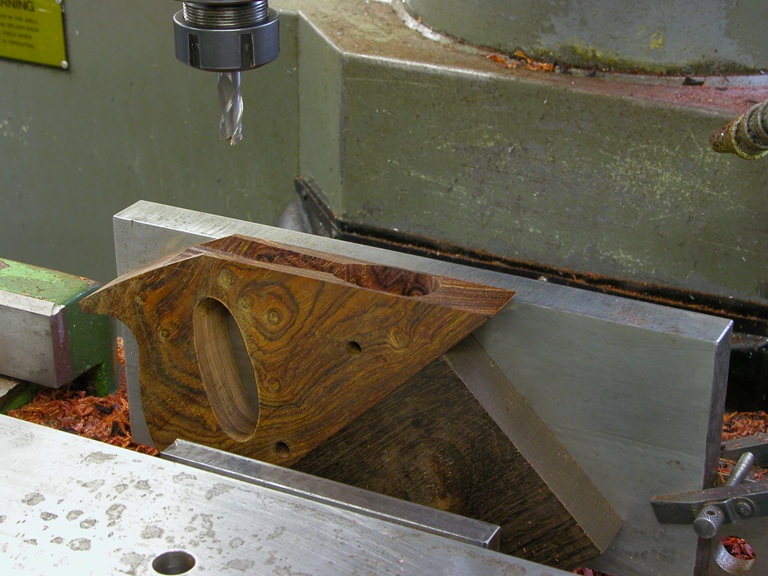
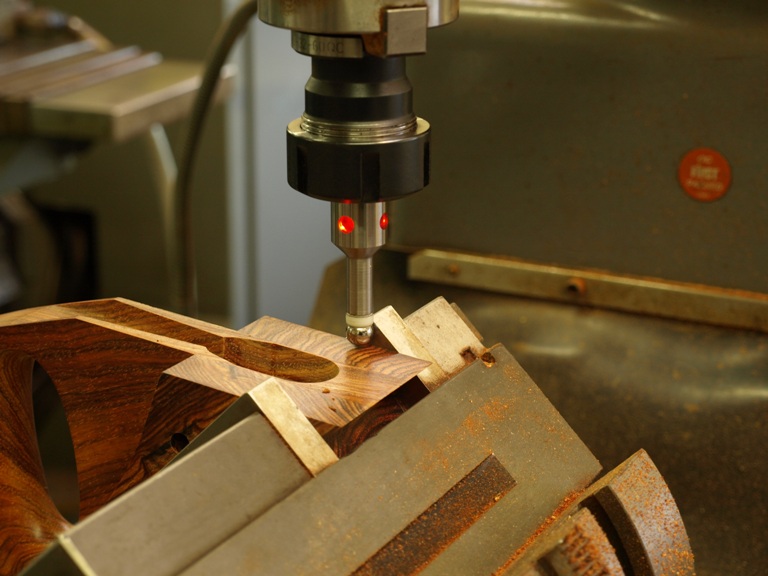
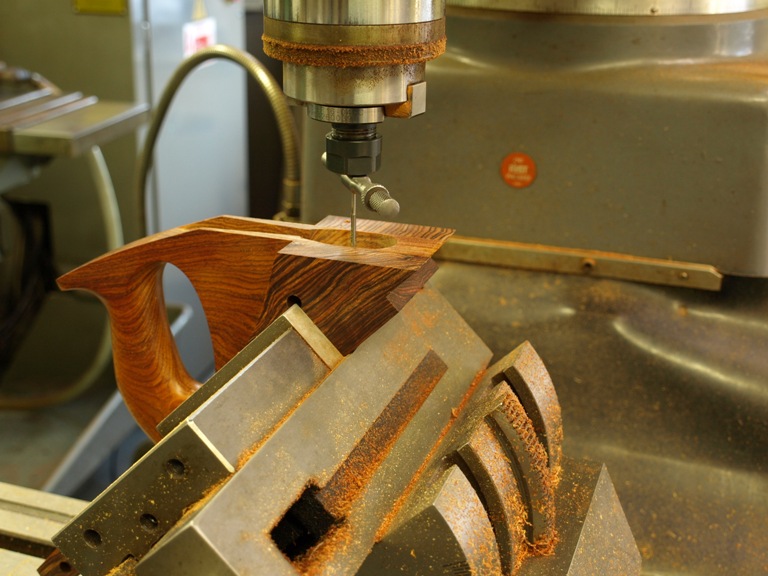
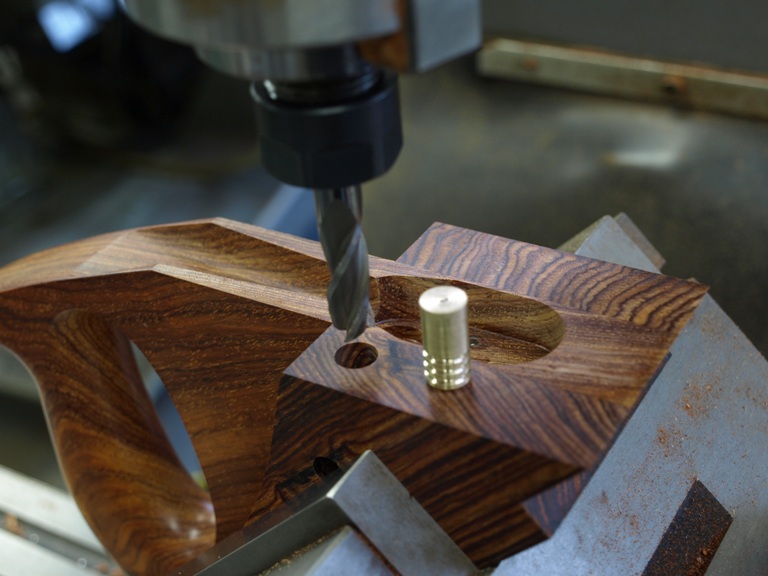
Machining the adjuster recess in an A1 handle. The cnc mill is just the perfect tool for this; too much hand work in this area could leave a finish as though it had been chewed out by a rat. I am not criticising those doing this kind of work with hand tools but they would be hard pressed to match this quality. It can take a long time in the setting up but once up and running the whole recess will take less than 5 minutes to cut out, using only two tools.
Removing handle after recessing. Thought this picture would make things a bit clearer, with one of the clamping plates removed. Each handle is individually centred as it is very difficult to apply any uniformity when working in wood.
Showing finishing handle after a considerable leap (I seemed to have mislaid some pictures).
Still a long way to go even with the metal work complete.
Centre finding for adjuster fixing.
Hand tapping after drilling the concealed brass dowel for adjuster fixing.
This is boring the hole for one of the two brass pads shown (some people think that these are just recessed pads when in fact they connect with the metal spacers). More discussion on this later.
