No 982 smoothing plane in the making – 1
After much deliberation over the design for nearly 12 months the work on the No 982 smoothing plane finally commenced in July 2008.
Most of my planes have been a combination of precision engineering and hand work which I look upon as a considerable upgrade on the original counterparts. In the case of the No 982 plane it would be very difficult to proceed without the precision machining. However, there is always plenty of work which is done by hand and has no substitute.
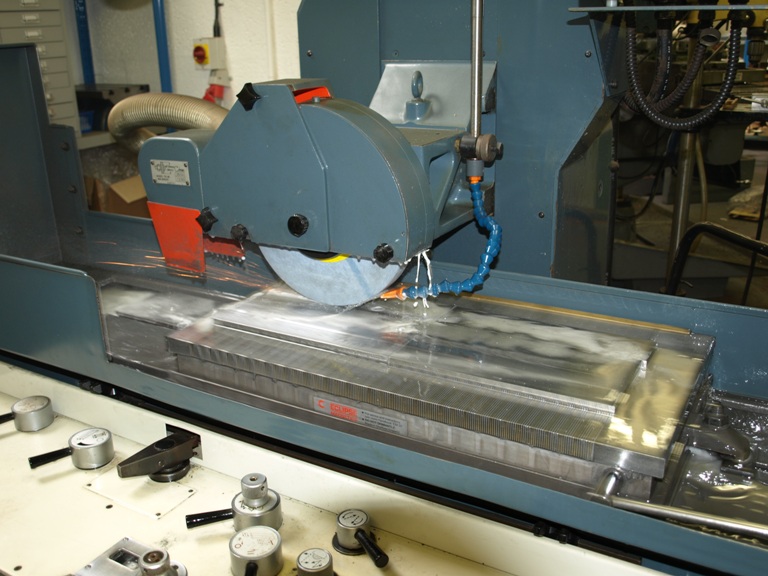
Those working with wood will know all the raw components need to be squared and straightened up before starting and this is the same with metal work. This is the bottom being ground after milling from a black bar.
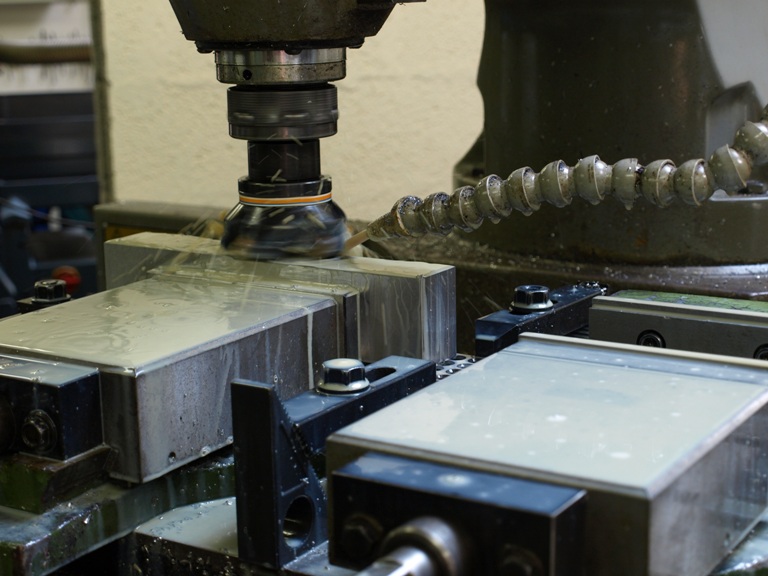
With the bottom faces being ground these bottoms will be nice and flat and parallel. At this stage I mill the edges on both sides to ensure that these are also square and parallel to each other, and also uniform.
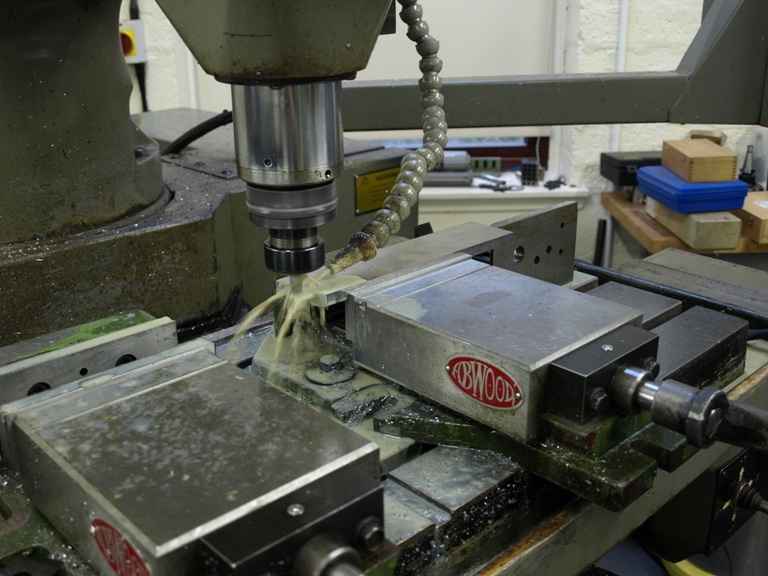
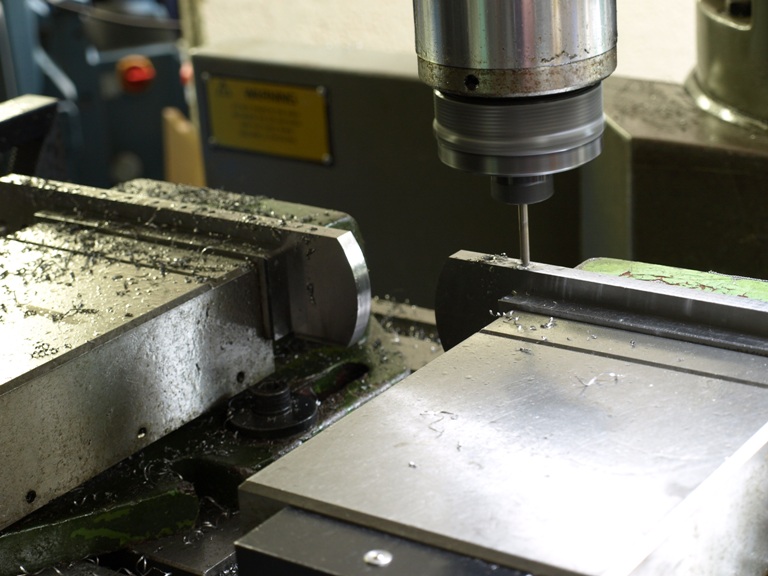
Here you can see that I round the backs and fronts of the bottoms.
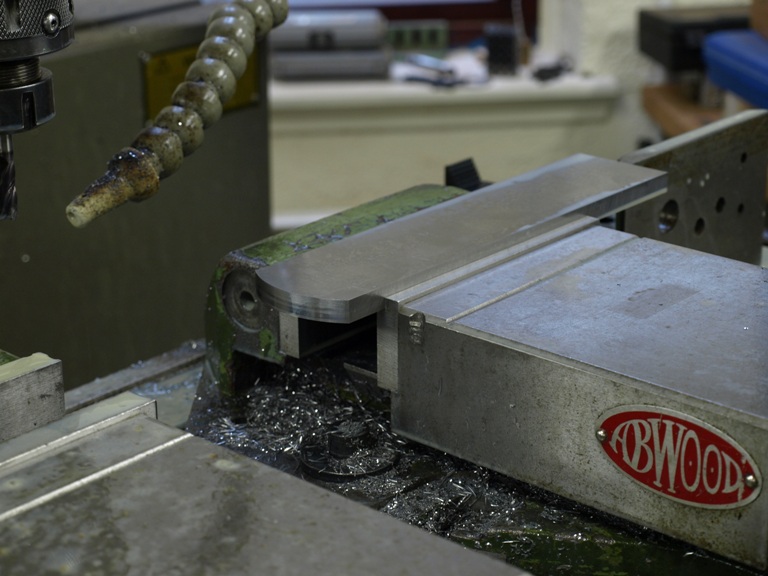
The rounding complete on the bottoms.
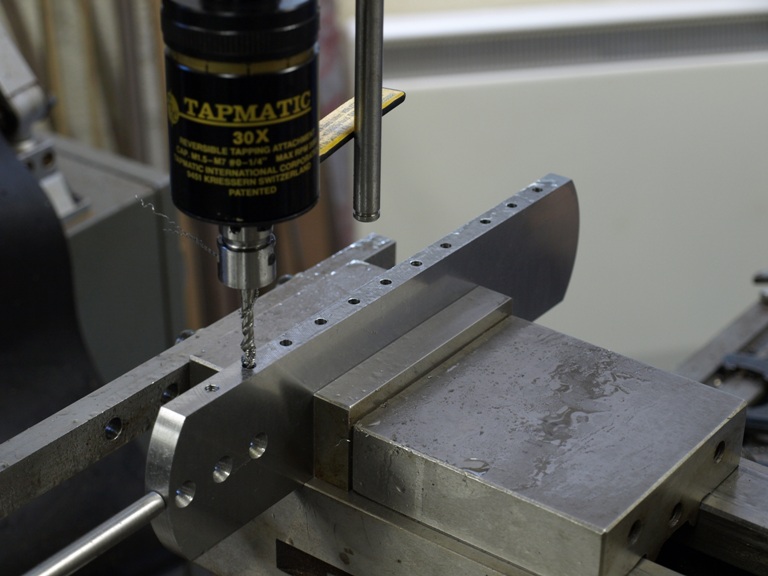
Drilling bottoms prior to tapping for the side fixing screws.
This is a different process from my usual dovetailing. It is also different from the rivets which I milled in situ for the No 98 smoothing and panel planes.
With riveting or dovetailing there is some movement and distortion which is very difficult to avoid. After some experimenting I found the screwing or bolting process is more reliable with no detectable movement. The sides and the bottoms remain perpendicular.
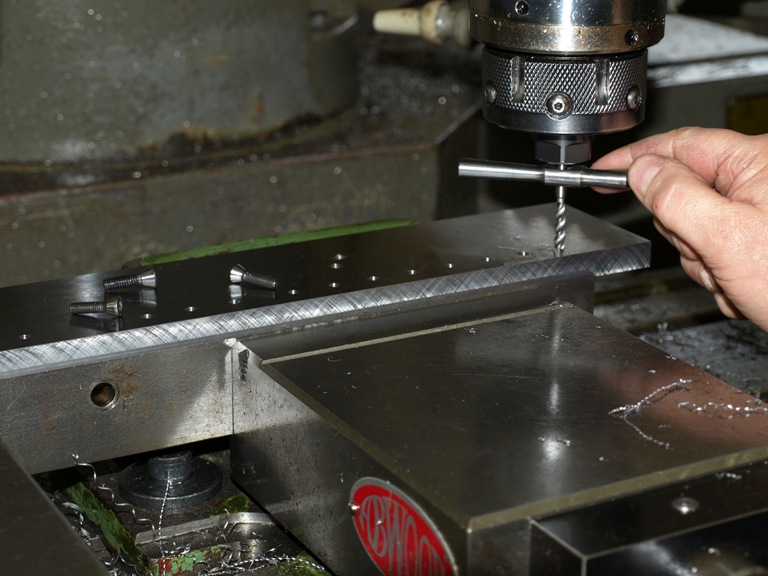
Tapping process for the screw holes.
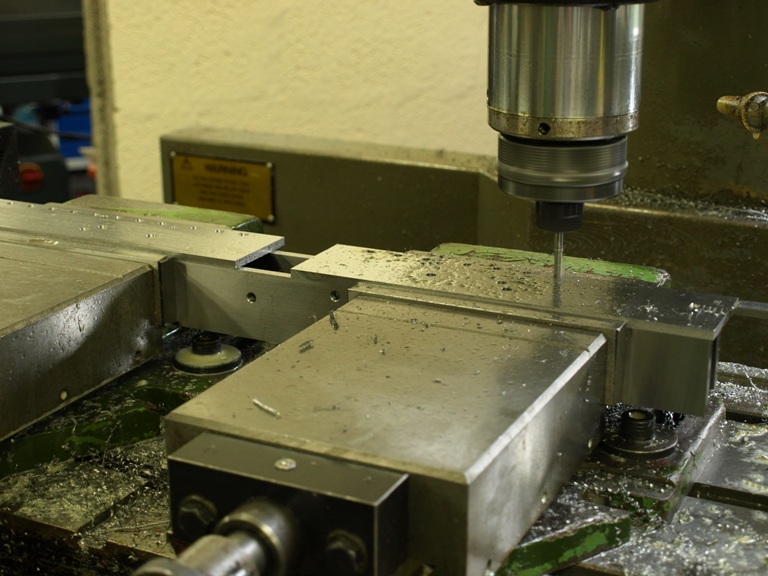
Drilling the fixing holes on the sides to take the new fixing system. The sides having already been prepared by milling and grinding.
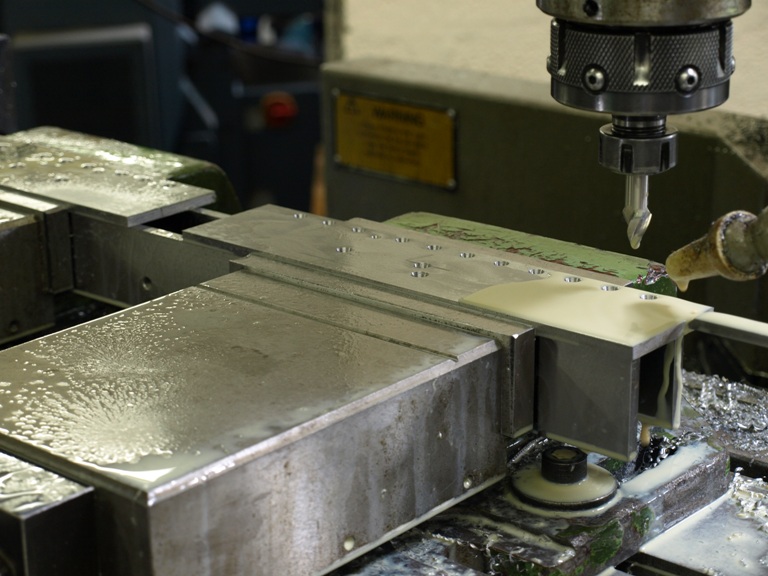
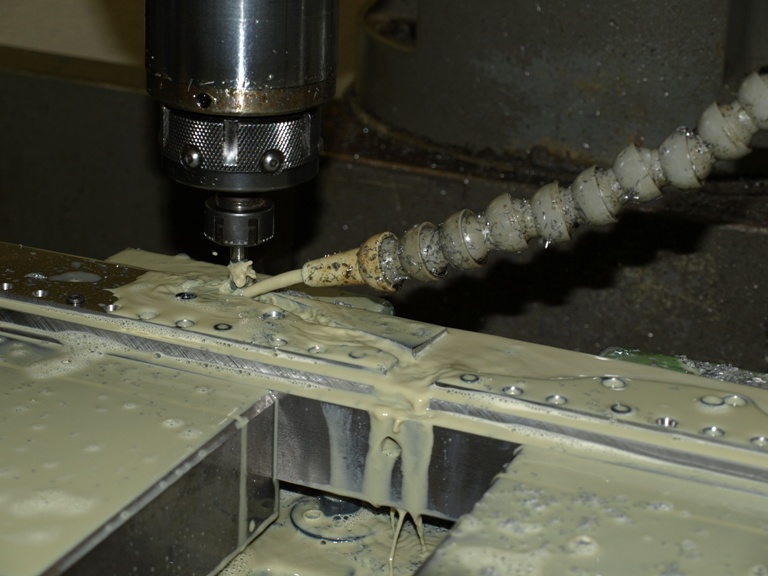
Counter boring the holes for fixing. These have a small taper and the holes are milled by CNC with a specially made undersized cutter for a better finish, not bored because boring would chatter and cause flats. The holes will match the tapered head of the screws.
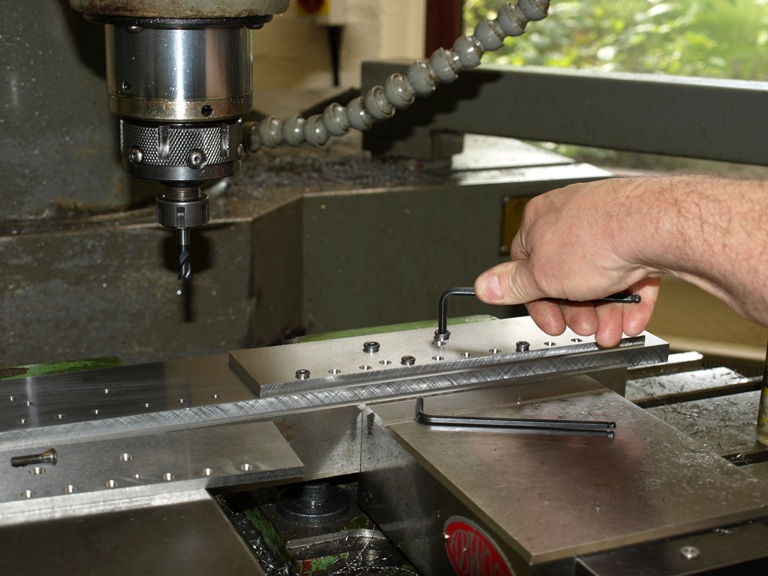
This shows the work holding plate for the sides being tapped after drilling. Then I am able to screw the sides down for routering and bevelling the side profile. The holding screws have been adapted to fit the tapers in the bore.
Screwing the sides to the work holding jig for routering.
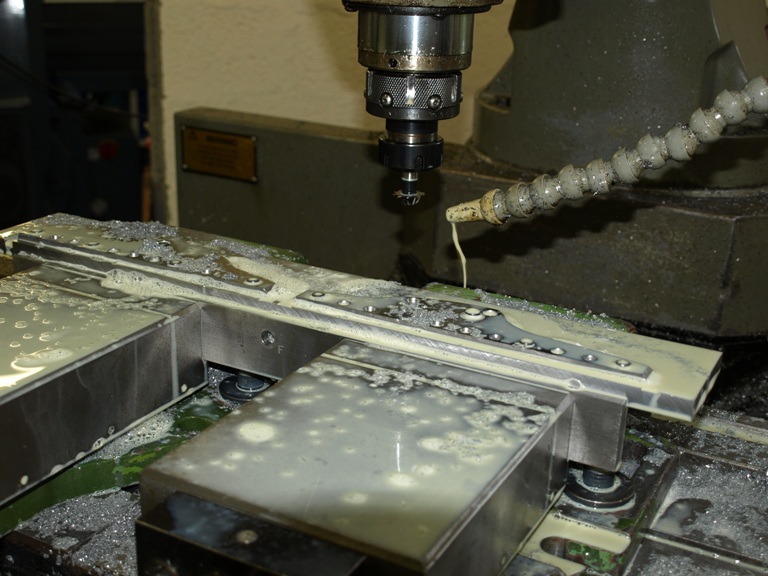
Routering out the sides
After routering and bevelling the sides. This leaves the sides ready for hand polishing the edges and bevel. There is also a small blade kicker to be rivetted in place.
