Karl Holtey – Blog Archive

February 20, 2012

Window to my Workshop 19

Filed under: Transitional T21,Window to my Workshop — Tags: , , , — admin @ 4:44 pm

Holtey Transitional Jointer Plane – 2

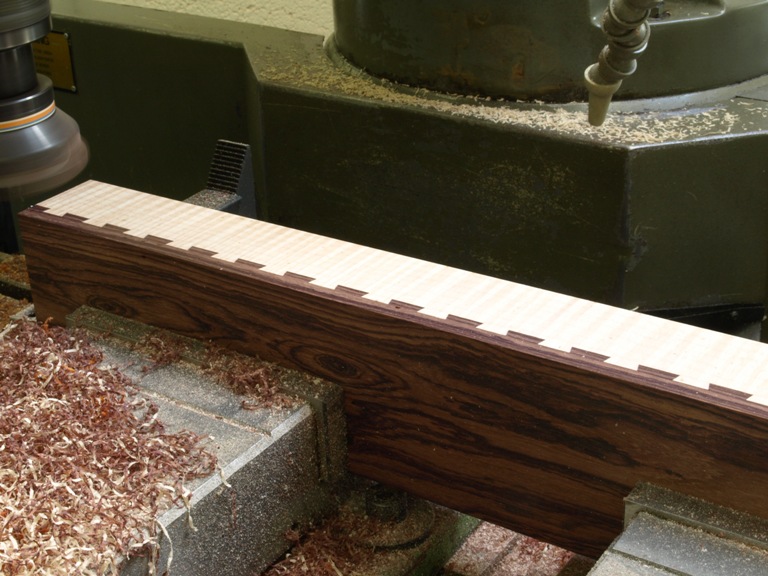
As there have been comments about this dovetailed jointing system I realised that I should show the pictures of the dovetailing in progress.

There are a few who know the dovetail puzzle of using a cube made up of two contrasting woods showing one dovetail on each side. In the case of a square object you cut the angle of 45 deg for the path of the dovetails (two) so that the joint slides into position with this angle, which gives an even sized dovetail on all four sides.

Once you start altering the dimensions and the number of dovetails then it becomes complicated. If it was not for my CNC it would be a nightmare.

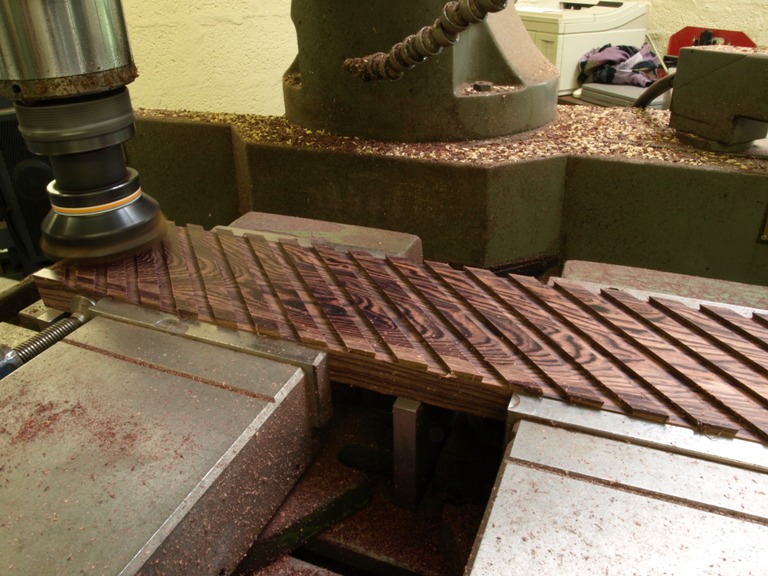
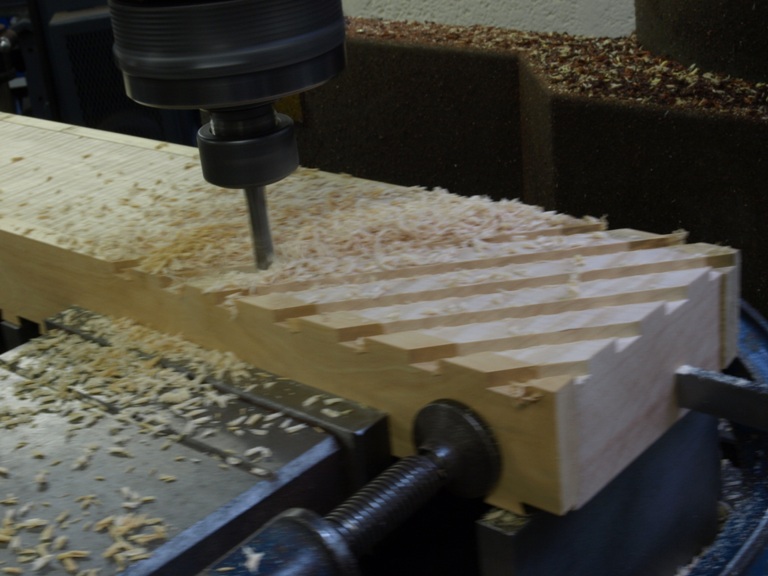
The first cut for the dovetailing is done with a plain cutter so that I can reduce the mileage on the dovetail cutter.

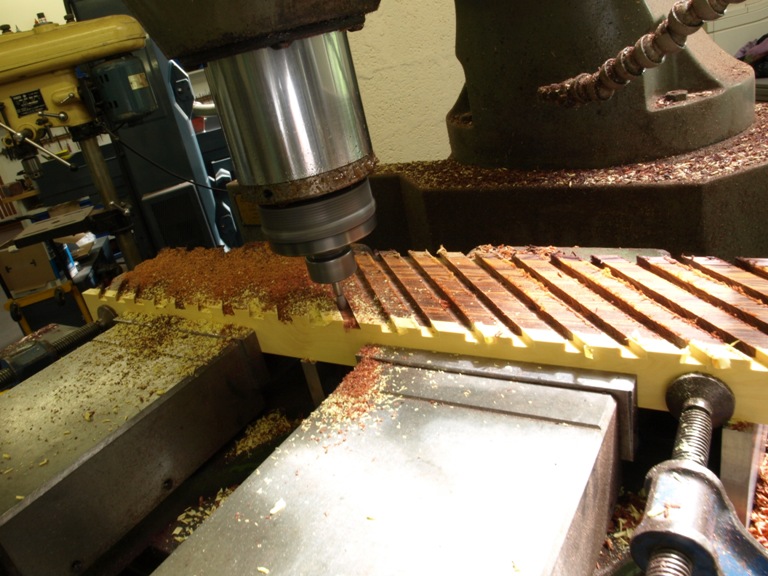
With the grooving complete I can then follow through with the dovetail form cutter (tungsten carbide as on all my tools).

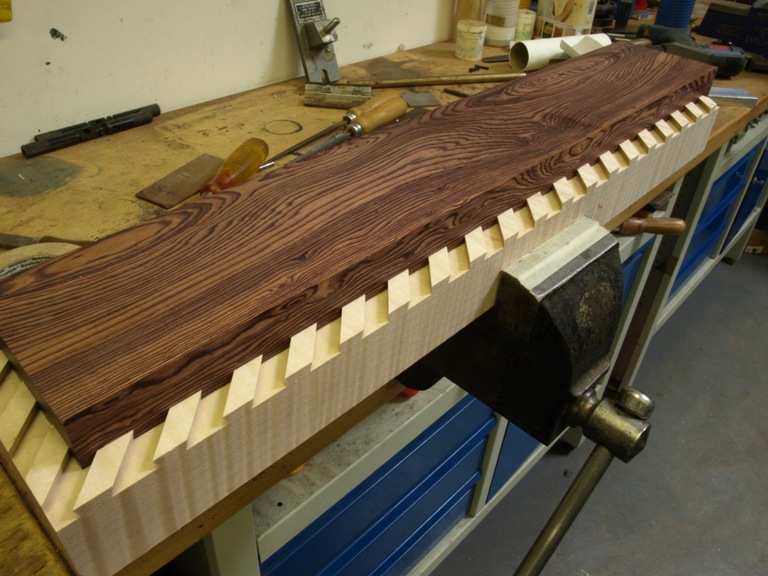
The depth of the dovetails has allowed for a final skim over the top to guarantee a uniform depth and also gives a neater finish.

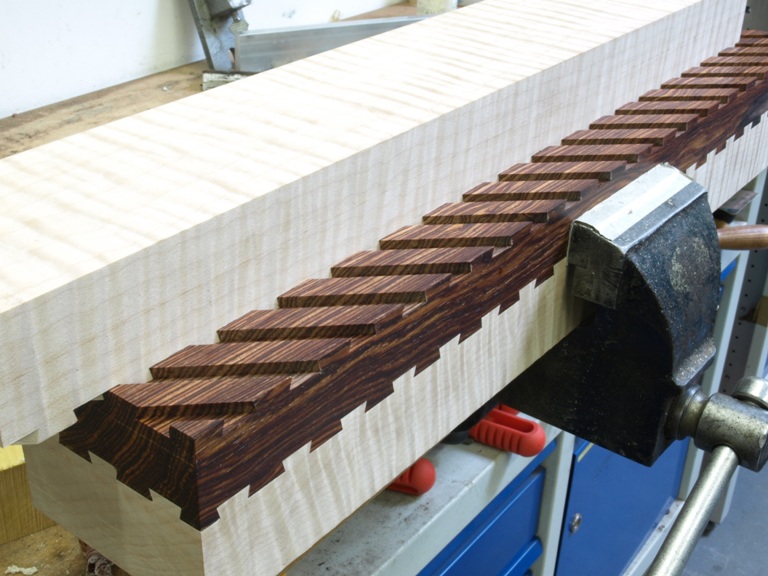
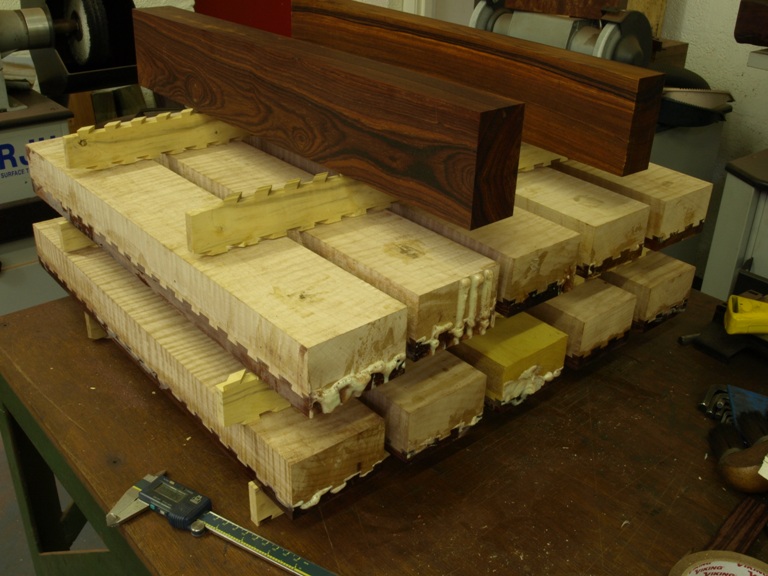
The exciting stage – sliding the dovetails together.

You will notice that some of the bottoms are to be cut to make two bottoms after they have been jointed and glued on both sides.

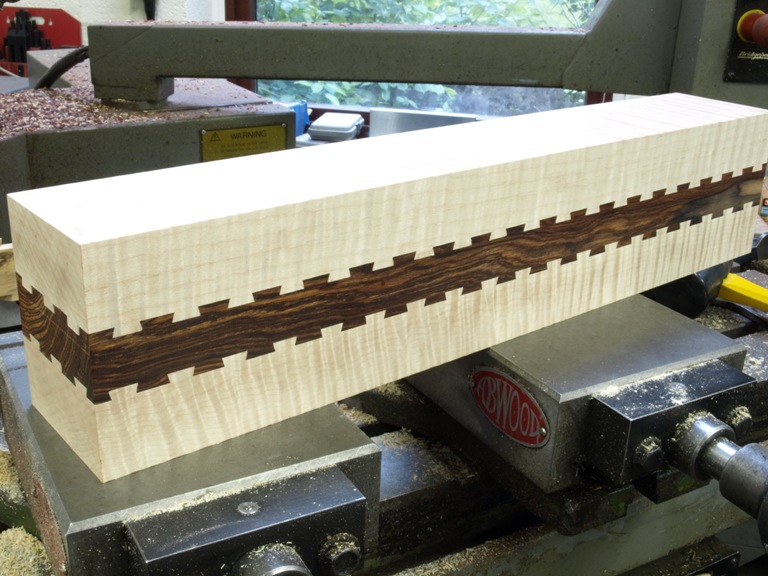
This is two bottoms waiting to be glued. The gluing is not so much for adhesion but in this application it is mechanical. The only way to undo this joint is by sliding so once the glue has hardened it becomes keyed to the texture of the wood. The dovetailing is a quantum leap from tongue and grooving used by other manufacturers.

For the gluing I have used polyurethane with an open time of at least half an hour – well that is what they say on the tin. In real life the comfort time is less than 5 mins. So preparation and rehearsal is necessary. I use the polyurethane so that I don’t introduce any more moisture into the wood. Also it expands so taking up any voids. I have a loose fit of 8 thou so that the joints are reasonably easy to slide together and still have a small glue line.

It is extremely important that the gluing should be done soon after the dovetailing because wood is unstable and it can fit today and not tomorrow.
Window to my Workshop 18

Filed under: Transitional T21,Window to my Workshop — Tags: , , , , — admin @ 4:37 pm

Holtey Transitional Plane

For some time I have had a fascination for transitional planes. Since I have made two planes that are mainly made from metal it seems fitting that I should now make a transitional plane.

The designs that have had the greatest influence on me are John Gage’s planes, but of course I feel the need to upgrade on the metal working side. I like the lightweight and low profiles of these planes and believe they could find favour with quite a few people.

I also have some interest in ECE Primus planes but again I don’t like their metal work. I do, however, like the laminated sole very much. I feel I could improve here by dovetailing the hardwood sole instead of grooving. It will be technically superior as the mechanics of this jointing system is not totally dependent on glue.

There are some problems in the making of this dovetailed system but I have overcome them with a considerable amount of thought and work. I will be very dependent on the use of my CNC machine. It could provide quite a challenge for the home constructor.

As you may have noticed from a previous post I have already jointed and glued the bodies and they have been settling in my workshop for the past three months.

The timber that I am using is Quilted Maple, for its beautiful figure and light weight. I have a choice of two different woods for the sole; one is a Cocobolo rosewood (Dalbergia retusa) for its density and oiliness, or the Guatemalan Rosewood (Dalbergia cubiquitzensis) which is also dense and oily.

Though I have had considerable interest in these planes I am not taking orders until I can price them.

The picture shows the plane body being flushed using a face cutter in the milling machine. This is not just the only practical way of planing this very difficult wood because of the character of its grain, but I am also applying a high degree of precision.
(more…)

Preview

Filed under: New Projects — Tags: , , , — admin @ 3:19 pm

My next project which has been waiting in the sidings for the past two months. I am keen to get on with it.

Powered by WordPress