Karl Holtey – Blog Archive

February 20, 2012

Window to my Workshop 18

Filed under: Transitional T21,Window to my Workshop — Tags: , , , , — admin @ 4:37 pm

Holtey Transitional Plane

For some time I have had a fascination for transitional planes. Since I have made two planes that are mainly made from metal it seems fitting that I should now make a transitional plane.

The designs that have had the greatest influence on me are John Gage’s planes, but of course I feel the need to upgrade on the metal working side. I like the lightweight and low profiles of these planes and believe they could find favour with quite a few people.

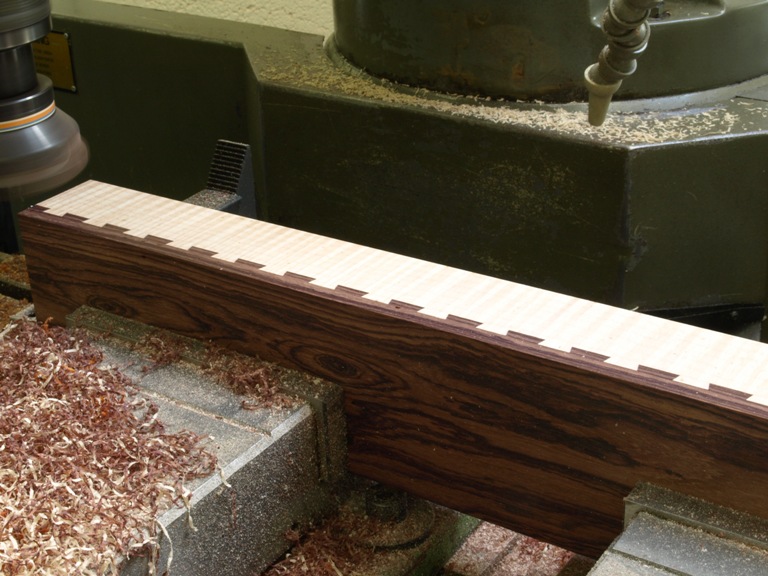
I also have some interest in ECE Primus planes but again I don’t like their metal work. I do, however, like the laminated sole very much. I feel I could improve here by dovetailing the hardwood sole instead of grooving. It will be technically superior as the mechanics of this jointing system is not totally dependent on glue.

There are some problems in the making of this dovetailed system but I have overcome them with a considerable amount of thought and work. I will be very dependent on the use of my CNC machine. It could provide quite a challenge for the home constructor.

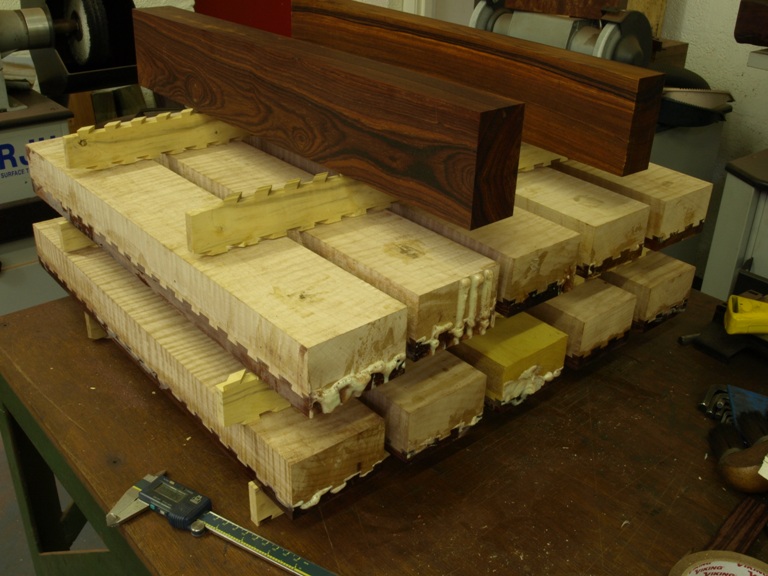
As you may have noticed from a previous post I have already jointed and glued the bodies and they have been settling in my workshop for the past three months.

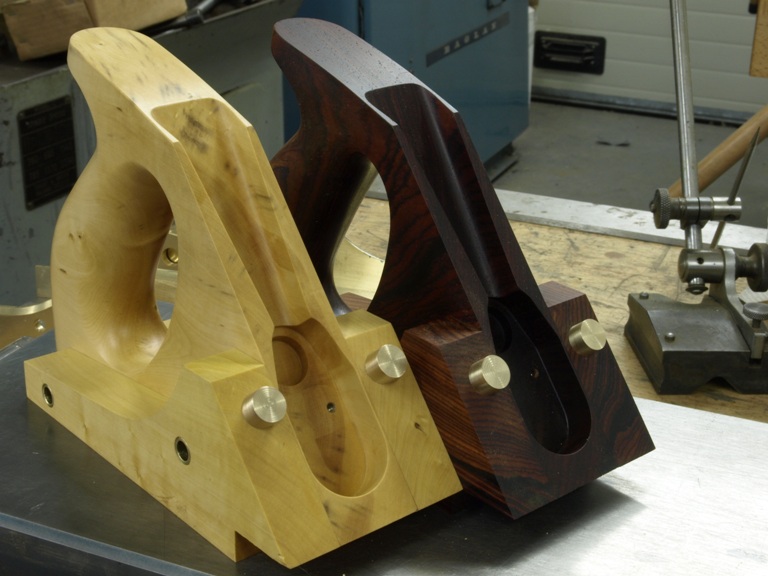
The timber that I am using is Quilted Maple, for its beautiful figure and light weight. I have a choice of two different woods for the sole; one is a Cocobolo rosewood (Dalbergia retusa) for its density and oiliness, or the Guatemalan Rosewood (Dalbergia cubiquitzensis) which is also dense and oily.

Though I have had considerable interest in these planes I am not taking orders until I can price them.

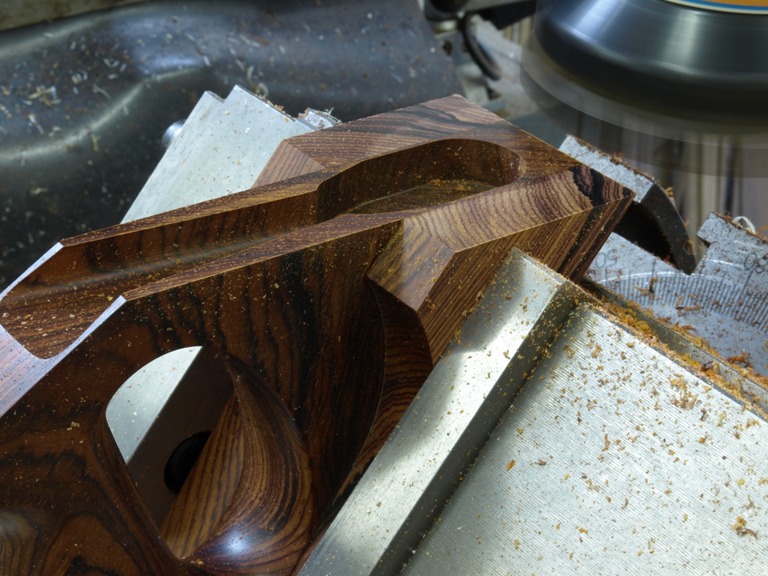
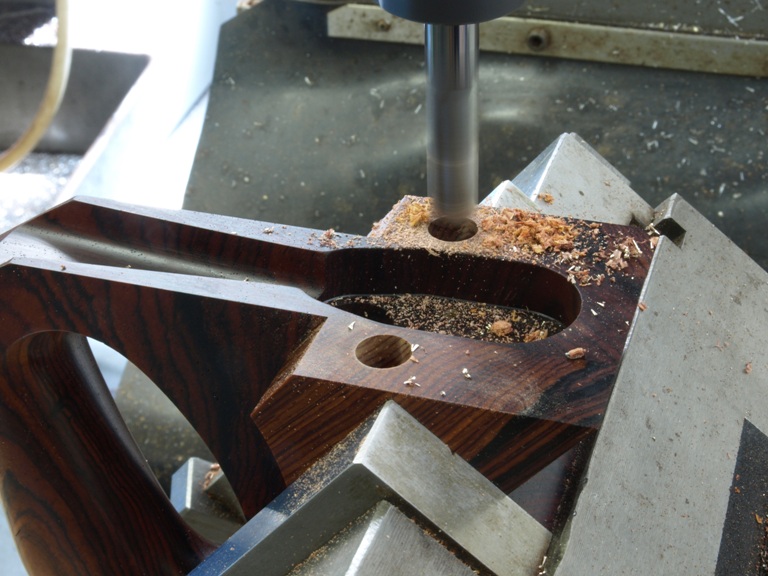
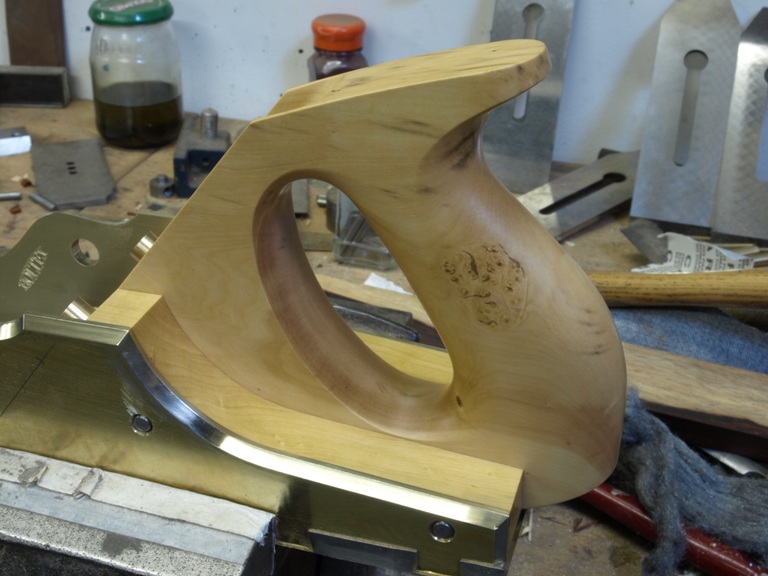
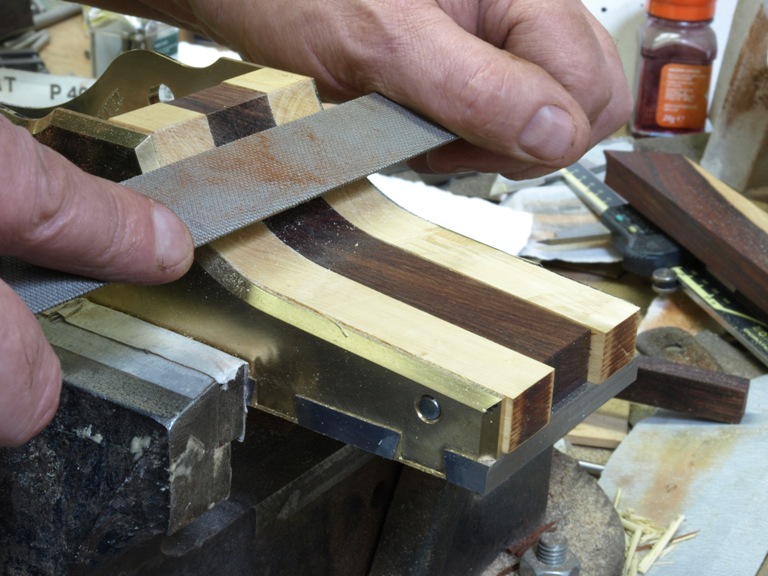
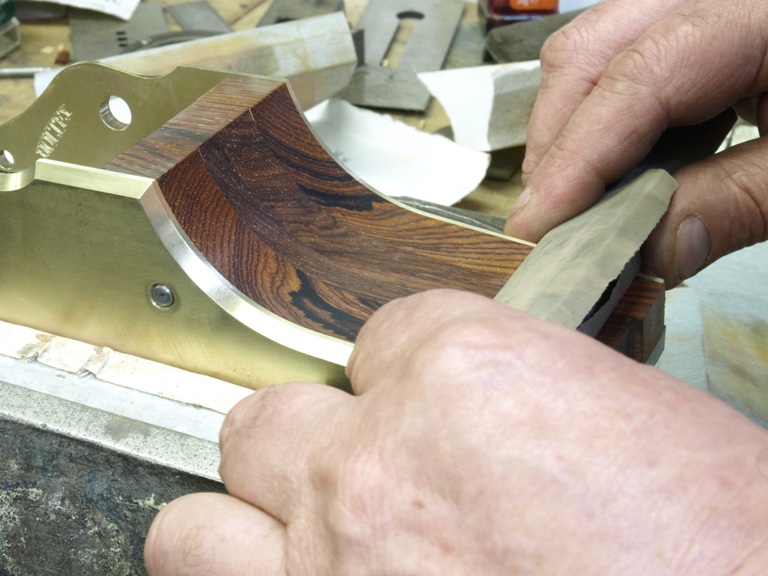
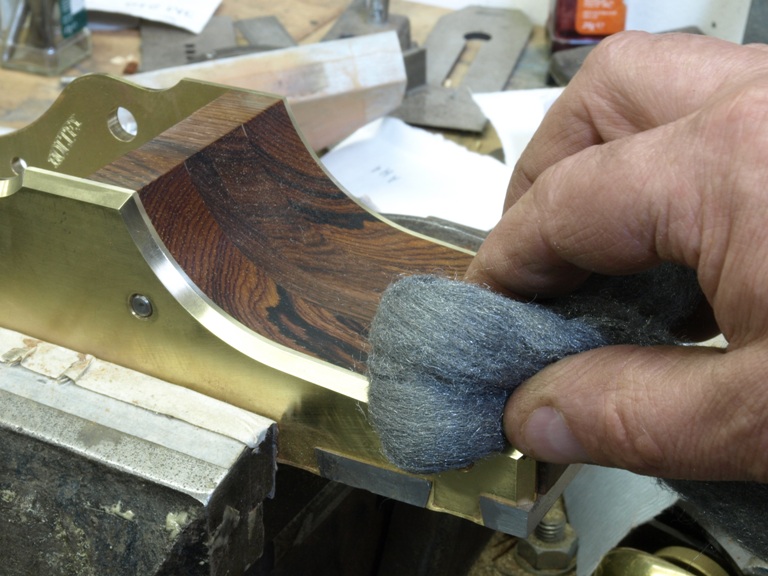
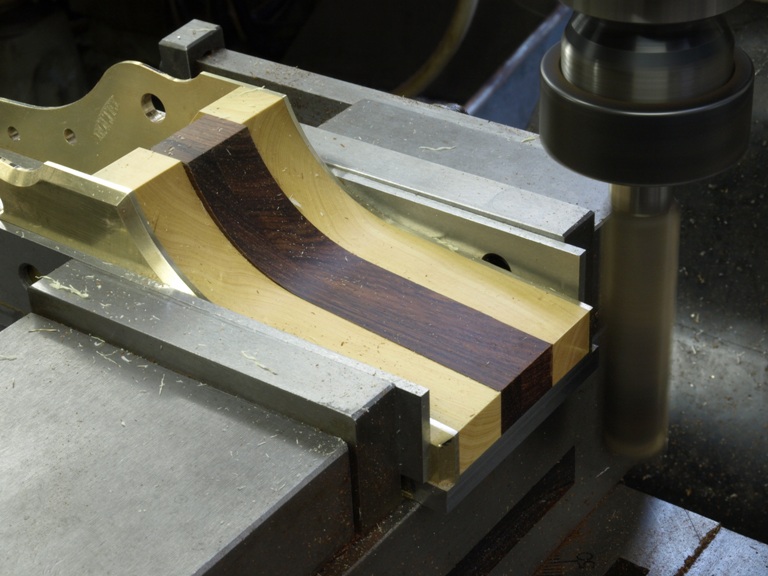
The picture shows the plane body being flushed using a face cutter in the milling machine. This is not just the only practical way of planing this very difficult wood because of the character of its grain, but I am also applying a high degree of precision.
(more…)
Preview

Filed under: New Projects — Tags: , , , — admin @ 3:19 pm

My next project which has been waiting in the sidings for the past two months. I am keen to get on with it.

Window to my Workshop 14

Filed under: A13,Window to my Workshop — Tags: , , , — admin @ 3:14 pm

A13 dovetailed infill plane continued (7)

Facing up the bed area.


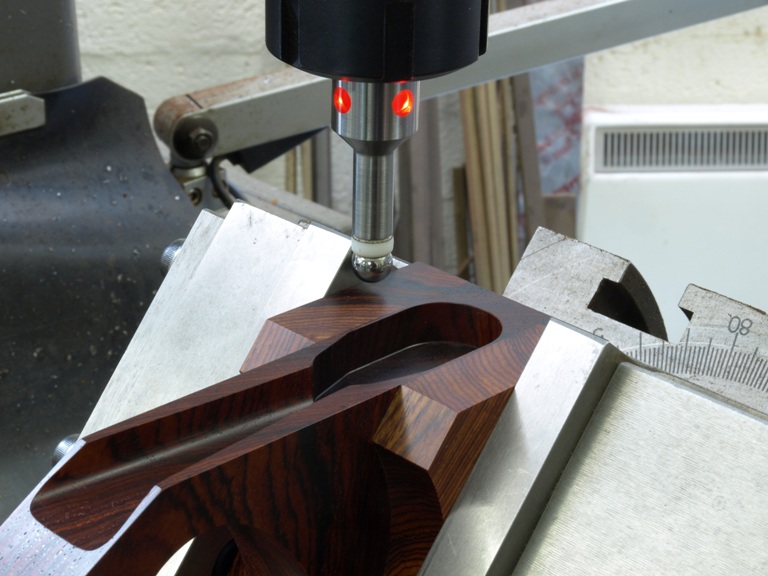
It is important that I get things back to centre at this stage and I do this with an edge finder. All my co-ordinates work from the centre line.


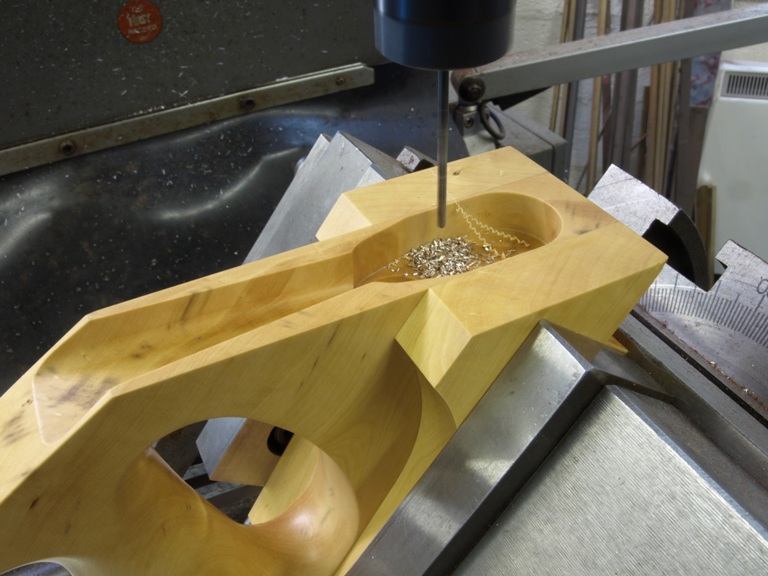
Now that everything is back on centre I can drill through the fixing bar for the adjuster.


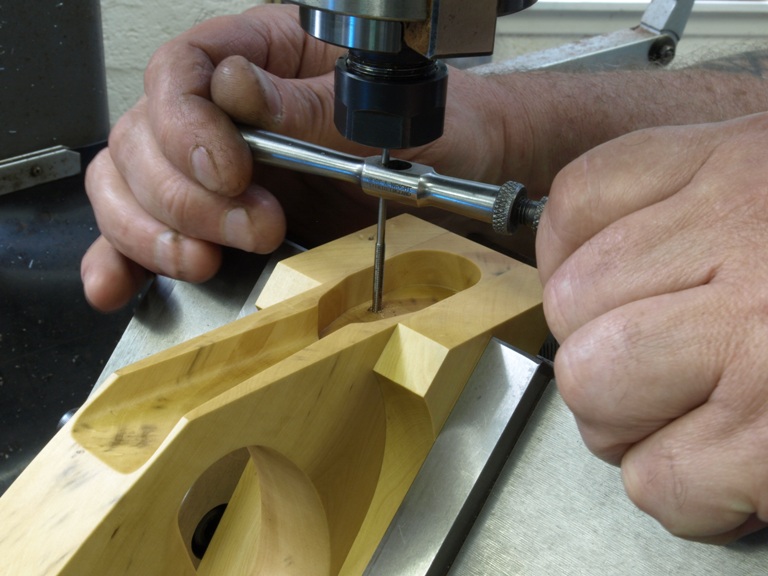
Whilst I still have all my co-ordinates and work holding I hand tap the previous drillings for the adjuster fixing.


There are many jobs in the making of this plane which don’t get mentioned and these pictures show the blade pads for bedding.


Boring for the blade pads. I drill to a suitable depth where I can engage part of the plane structure. The pads are then cemented in – on previous pictures you can see the retention recesses turned onto these pads.

Some browsers seem to make my nice round holes like polygons!


Handles ready for fitting, and trimming pads


The handle in position with temporary rivets

Window to my Workshop 13

Filed under: A13,Window to my Workshop — Tags: , , , , , — admin @ 3:01 pm

A13 dovetailed infill plane continued (6)

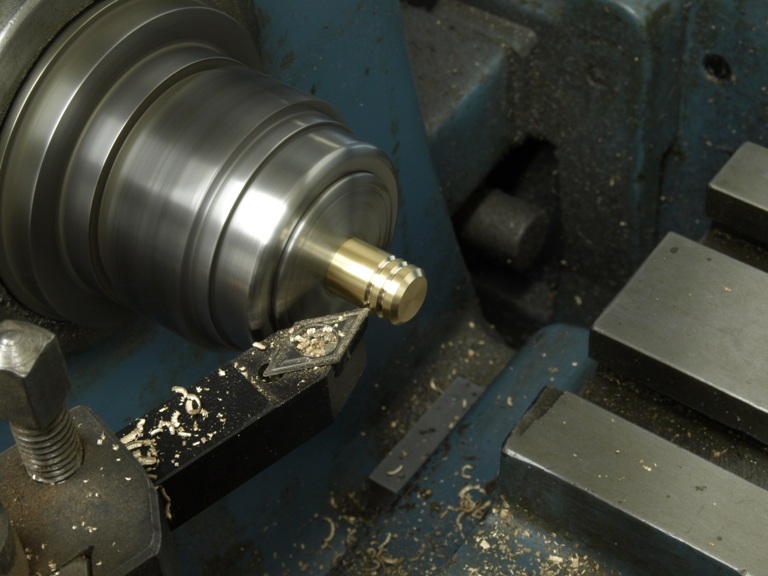
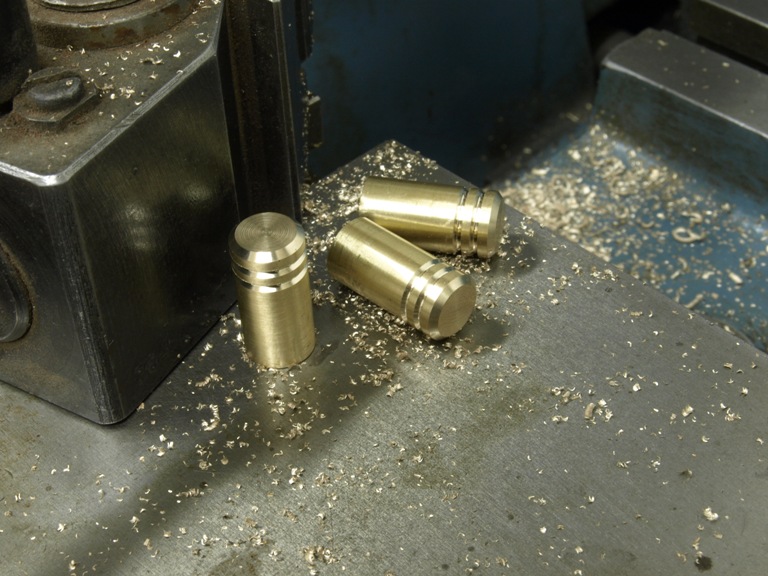
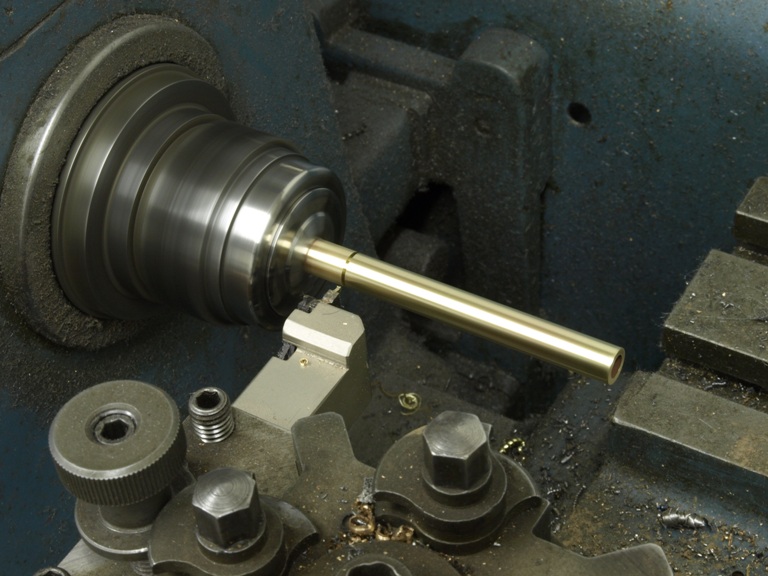
Parting off and trimming spacers which I use on all my infill planes for better dimensional stability.


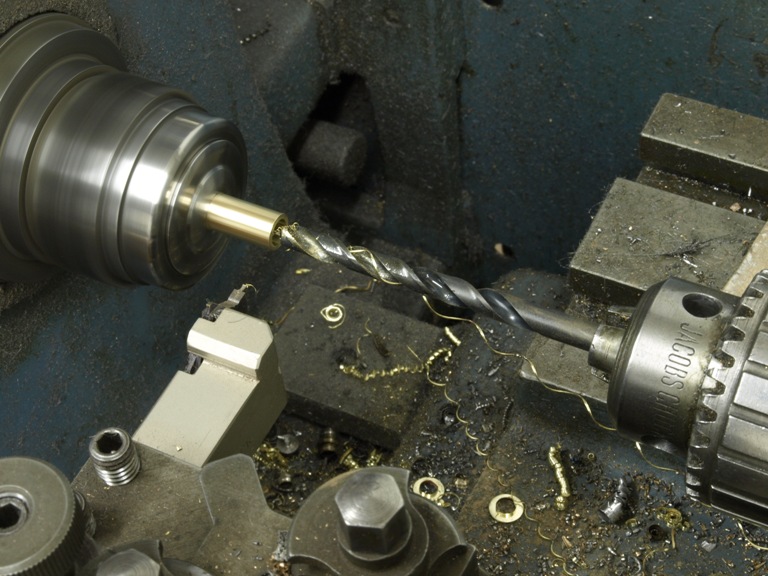
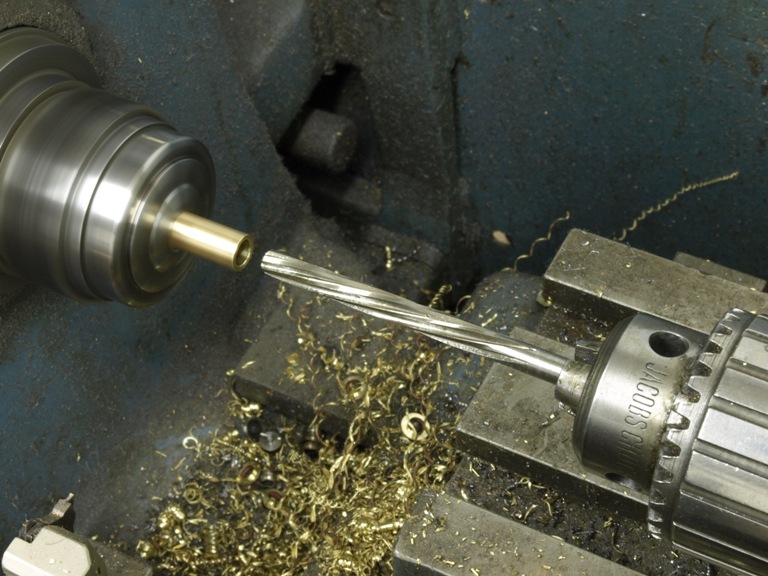
The spacers are drilled and reamed for the 7/32” rivet, from both ends for better concentricity.


Flushing off rear infill.

This is done with a temporary spacer to represent the handle as it is too difficult to do this with the handle in position. I also use sleeper rivets and spacers for location


The polishing is done after excess materials have been removed.


At this stage the plane with its infill can be put into the milling vice to flush the end. After further polishing the infills are ready to accept the handle.


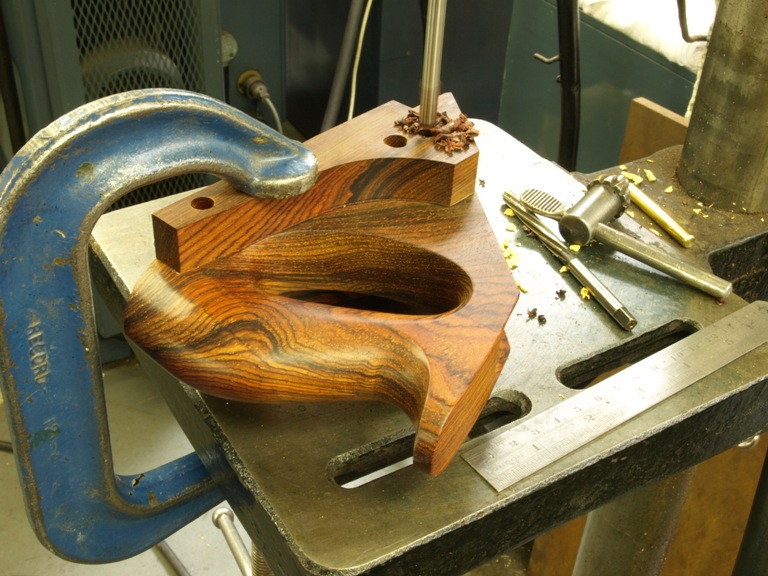
Even without any machines this is one piece of equipment that everyone should have – just an ordinary drill press. This picture shows the drill press being used to drill the hole for the brass bar which is then drilled and tapped later on in situ for the adjuster fixing.


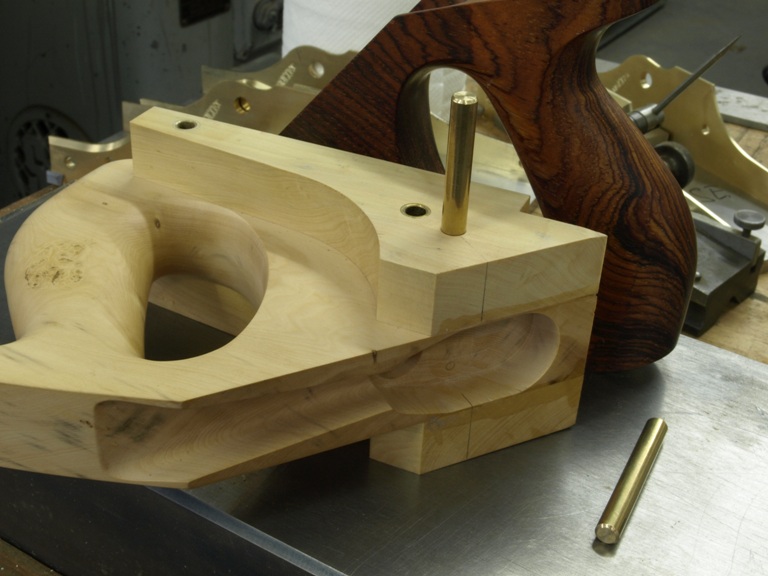
Inserting the brass bar for the adjuster fixing.

June 24, 2009

Introduction

Welcome to my blog.  It is my intention to use this forum to give a better insight into my workshop so you can see what makes my planes different.  It may change some opinion when it comes to the pricing of my planes.  It will allow you to see ‘inside’ my planes where the work is hidden.

I will show my work piecemeal and in no set order as I have lots of things I want to say and show, both current and past.  I do not have the time to edit into any order.  I have a large archive of photographs which I will be publishing over a period of time.  Also I will discuss techniques etc on request if time permits.

Powered by WordPress