A1 14 1/2″ dovetail infill smoothing plane
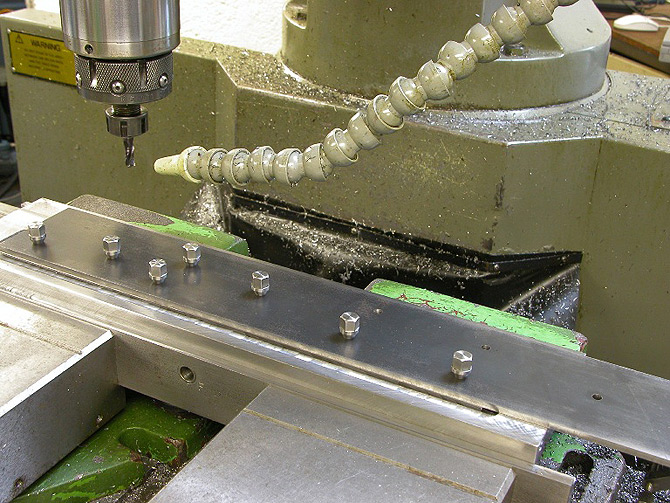
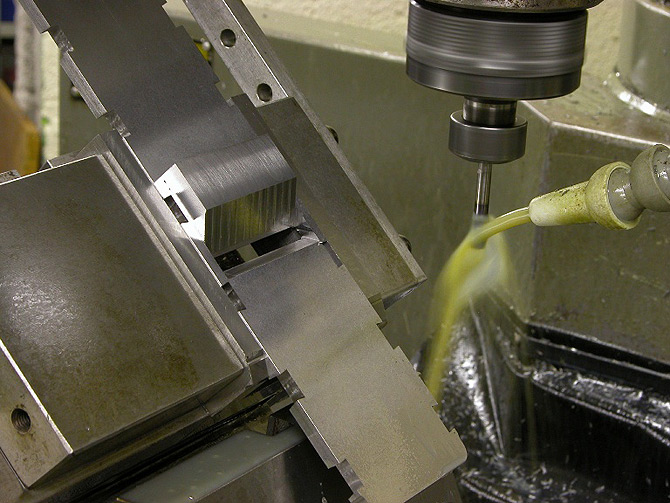
After grinding and drilling the sides they are then screwed to a holding jig via jig screws for profiling.
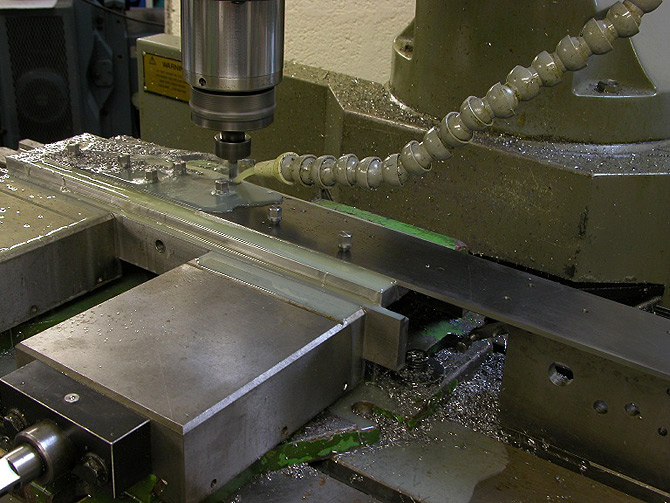
Roughing out the shape on the A1 14.5 sides.
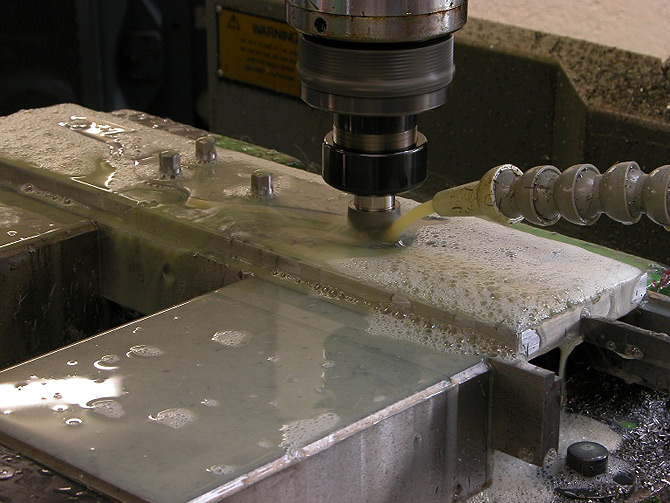
A1 sides being chamfered.
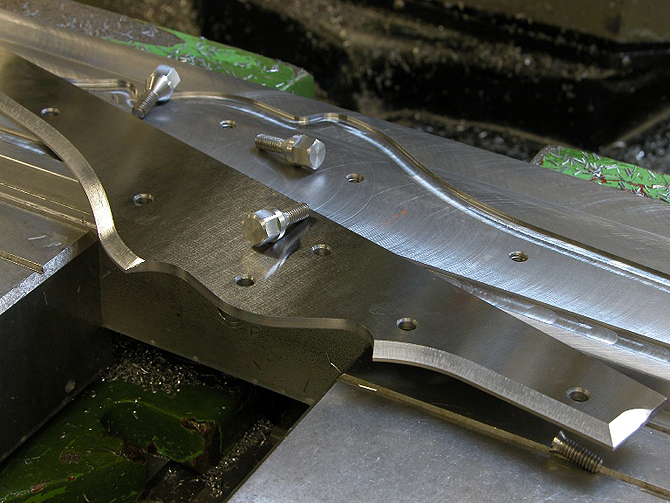
A1 4.5 after chamfering. The picture showing chamfering complete and removed from its holding jig. Even with all the time saved from not having to manually file there is still the polishing. This has to be done by hand with a great deal of care otherwise all the finish and precision can be lost. But the dovetailing needs to be done first.
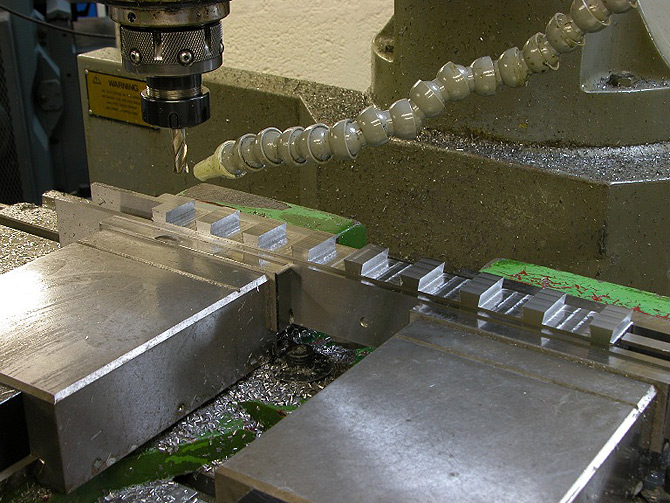
A1 after the dovetailing. Picture showing dovetails after completion. In this situation there are only 4 sides but I would do up to 12.
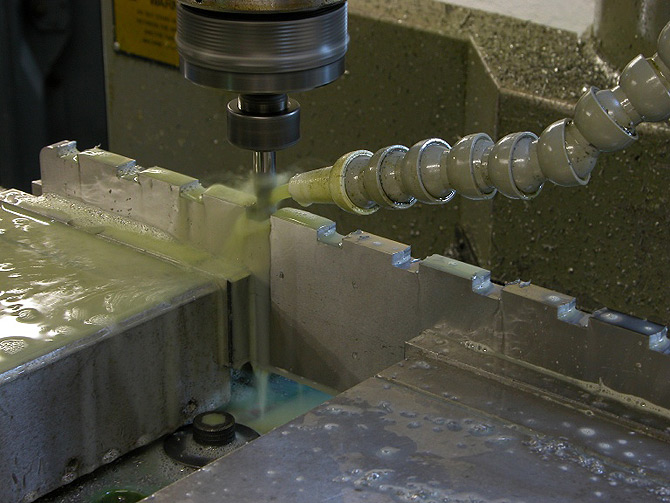
Cutting the dovetails on the bottoms. These are usually done in pairs only as they need to be back to back to produce a compound dovetail. Saves a hell of a lot of filing.
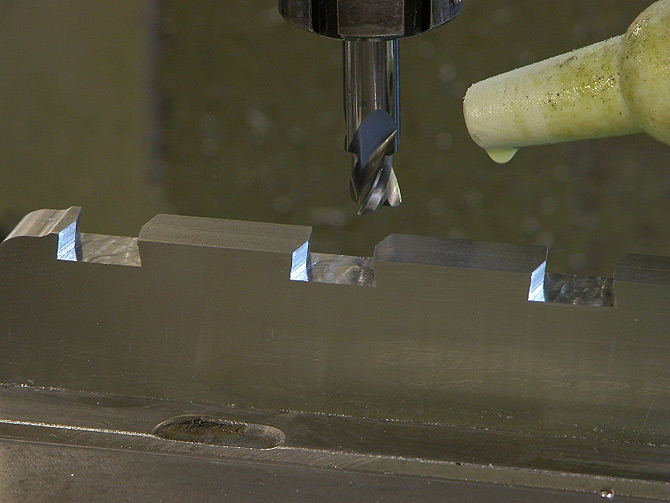
Bottom dovetails complete.
A1 14.5 drilling and breaking through for mouth. Showing the bottom after the dovetailing, slotting for mouth and drilling holes for the frog riveting.
A14.5 frog riveting – a boring task; one of many of the riveting operations which I hate. The frog is one I prepared earlier.
Rivet flushing on frog.
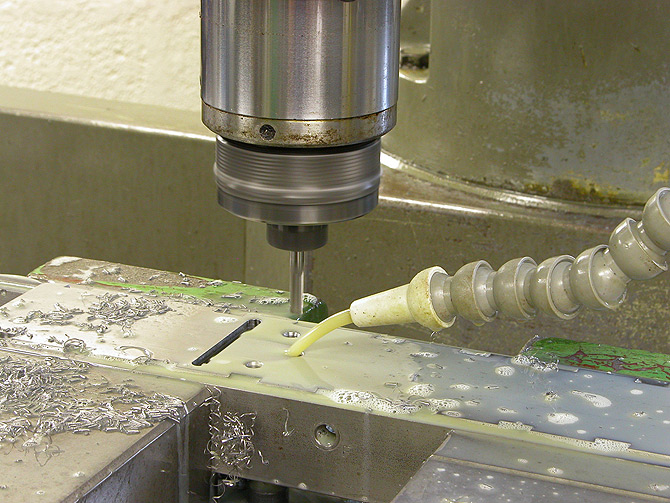
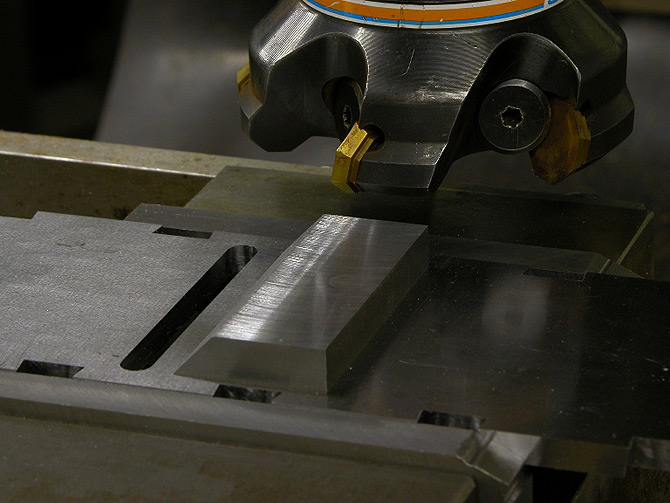
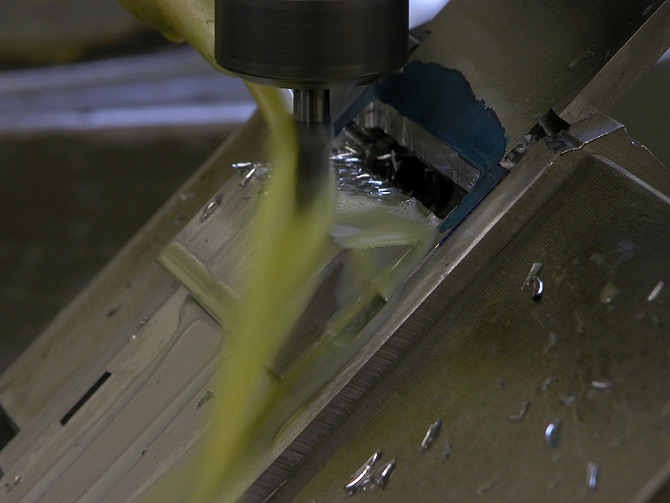
Milling operation to the mouth after the frog has been riveted in position. Easy isn’t it?
Second part of the mouth forming.
Mouth almost complete but will need tuning at the final stages.
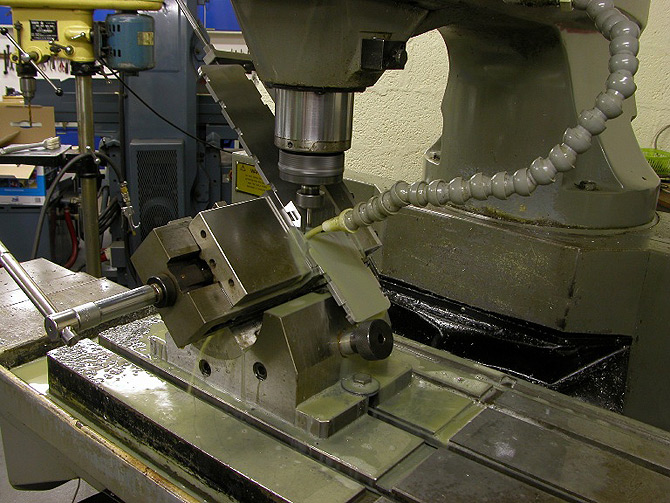
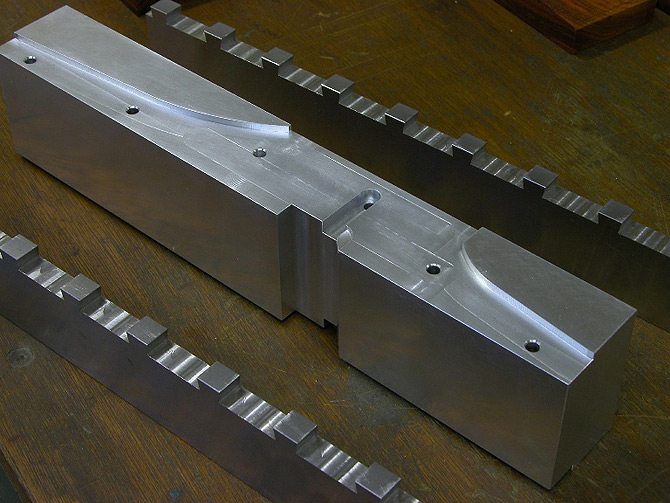
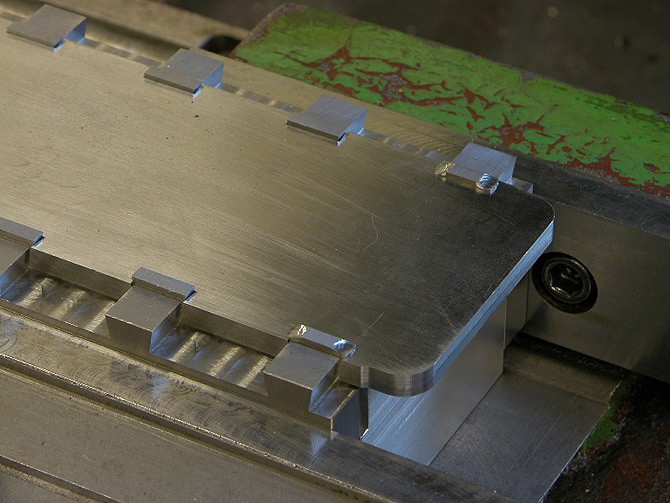
Once all the work on the sides and bottom is complete one of these is very useful to have. This is the tool I use for closing up i.e. joining bottoms to sides The inner former is precisionally machined from aluminium and also the two clamping plates are precisionally ground.
This picture is showing the plane assembled around its former with the dovetailed clamping plates applying pressure from a pair of milling vices, not just on the sides but also on the dovetails. The dovetails would have a tendency to spread pushing the sides of the plane wider apart. This means that I would start to lose the internal dimensions. This process of closing up is extremely critical as things will run out of true if they are not secured well enough. This can result in oversized and twisted plane body, There is a lot of evidence of this happening in some of the original infill planes that I have seen. This means that you will notice that these planes usually show no uniformity in thickness to the sides and bottoms.
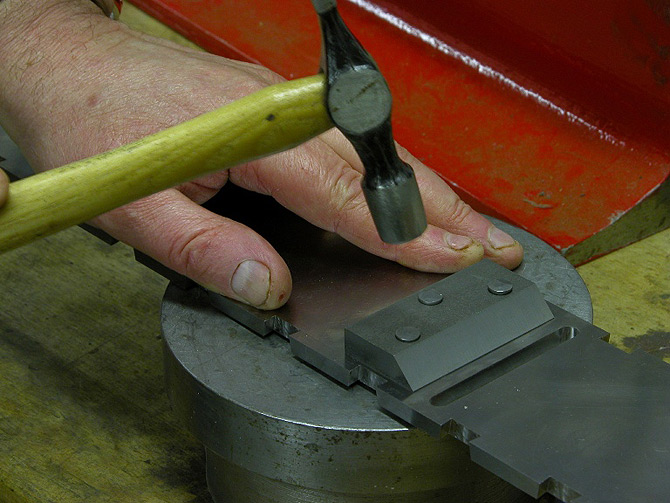
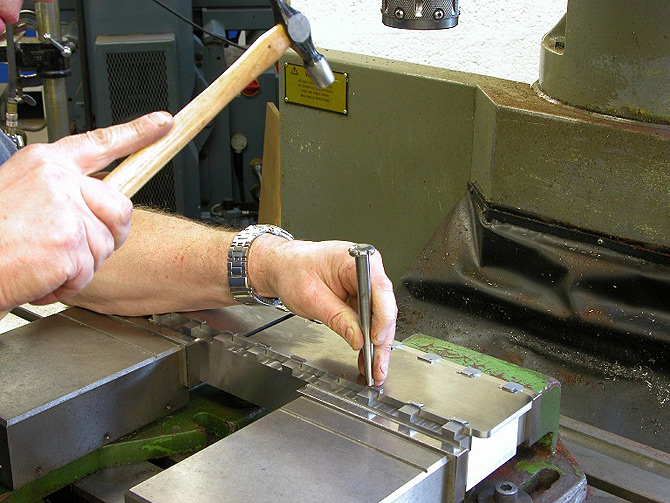
As you can see I use a very light hammer and a punch for the closing up, which means that I can make the metal flow in whatever direction I want. The light hammer blows do not transmit too much stress into other areas.
