Karl Holtey – Blog Archive

February 20, 2012

Window to my Workshop 16

Filed under: A13,Conclusion,Window to my Workshop — Tags: , , , — admin @ 3:45 pm

Conclusion of making the A13 dovetailed infill planes

For a long time I have procrastinated in writing a blog, and in that time I have kept a library of pictures of plane making throughout my range hoping to document it over time.

With the A13 I have tried to give some idea of the sheer effort that goes into the making. Although I have missed out much of the story, I hope it is enough to provide an overall picture. I have shown the mixture of hand and machine work that is necessary to achieve something of this quality. Also, I hope that I have shown that the machine work is not an economy but a necessity.

I decided to make the A13 because I could see potential in this design and its very appealing aesthetics, and it has turned out to be my best seller. From the blog you will see that a lot of detail has been upgraded. Some of the enhanced contours have been copied by others and referred to as an A13 when in actual fact it is a Holtey designed A13 and not a Norris. The original Norris A13 was cast iron which supported a square bun. However the introduction of dovetailing (mainly brass on steel) and riveting through metal spacers are all my ideas.

With the completion of these few planes, I feel that I want to move on and look for a replacement for this infill design.
Window to my Workshop 14

Filed under: A13,Window to my Workshop — Tags: , , , — admin @ 3:14 pm

A13 dovetailed infill plane continued (7)

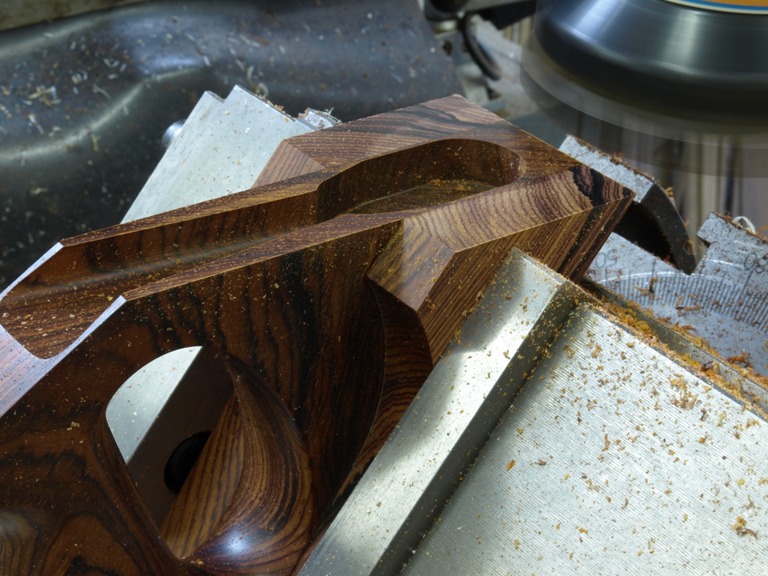
Facing up the bed area.


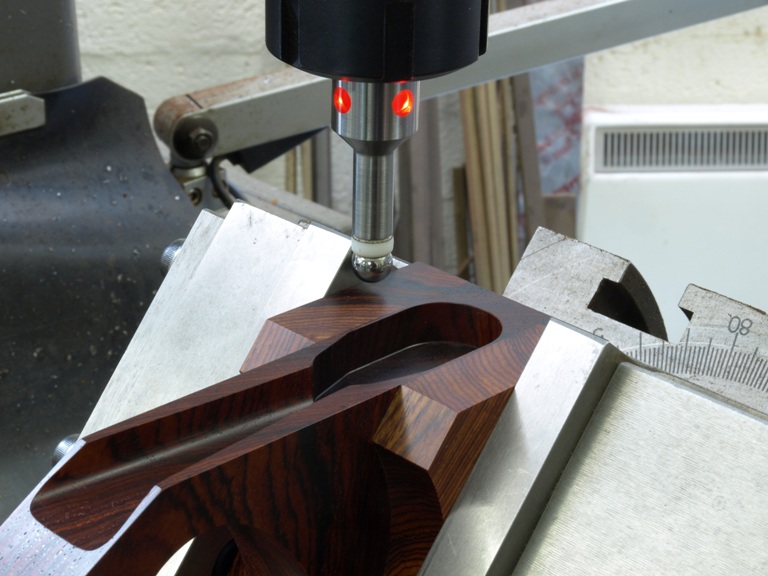
It is important that I get things back to centre at this stage and I do this with an edge finder. All my co-ordinates work from the centre line.


Now that everything is back on centre I can drill through the fixing bar for the adjuster.


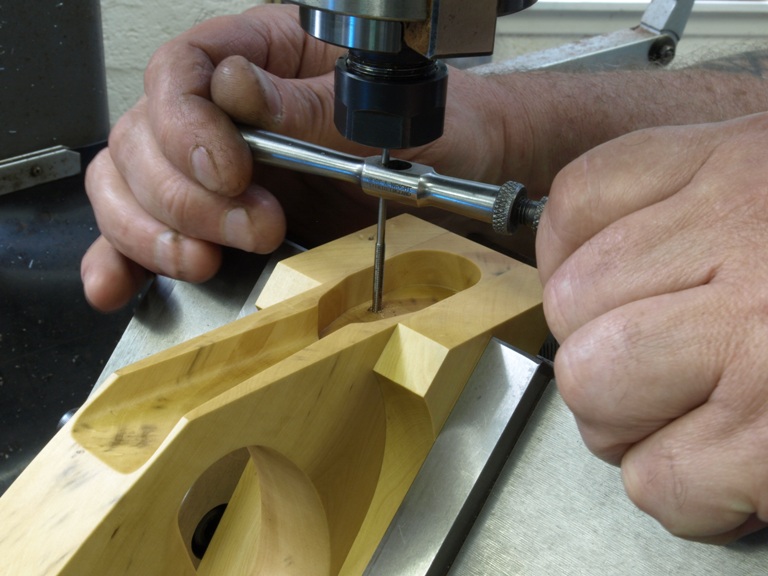
Whilst I still have all my co-ordinates and work holding I hand tap the previous drillings for the adjuster fixing.


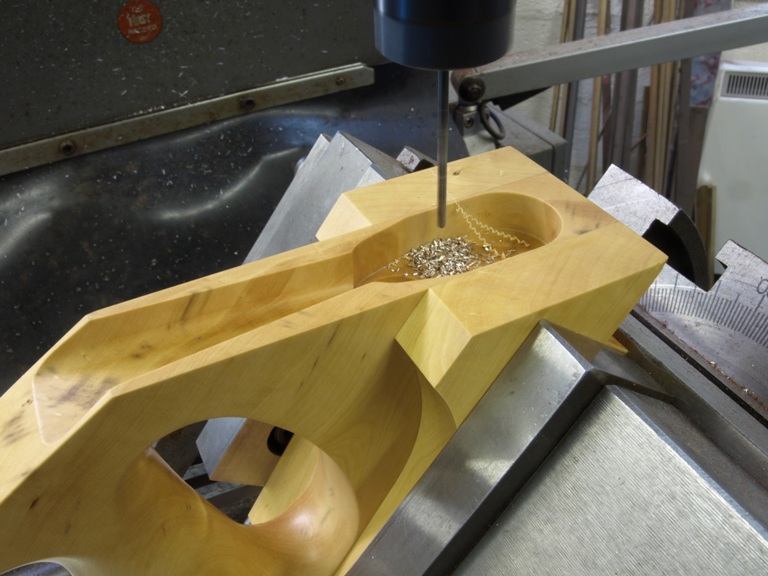
There are many jobs in the making of this plane which don’t get mentioned and these pictures show the blade pads for bedding.


Boring for the blade pads. I drill to a suitable depth where I can engage part of the plane structure. The pads are then cemented in – on previous pictures you can see the retention recesses turned onto these pads.

Some browsers seem to make my nice round holes like polygons!


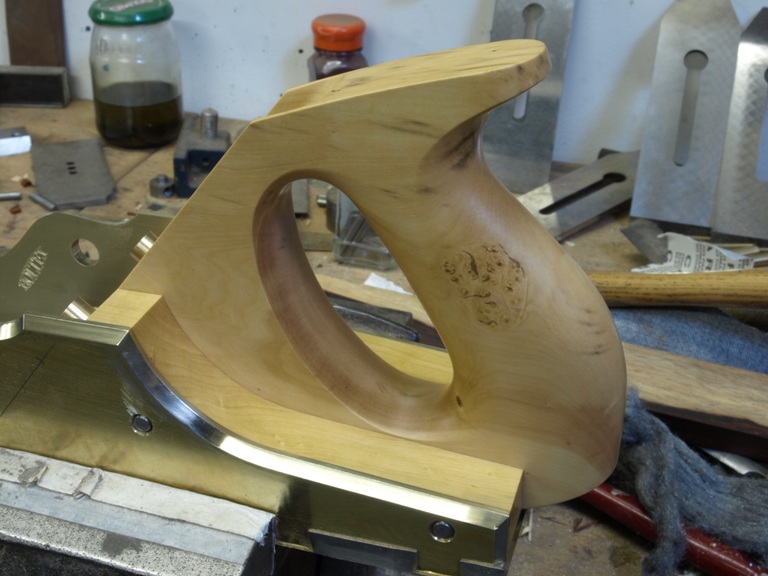
Handles ready for fitting, and trimming pads


The handle in position with temporary rivets

Window to my Workshop 13

Filed under: A13,Window to my Workshop — Tags: , , , , , — admin @ 3:01 pm

A13 dovetailed infill plane continued (6)

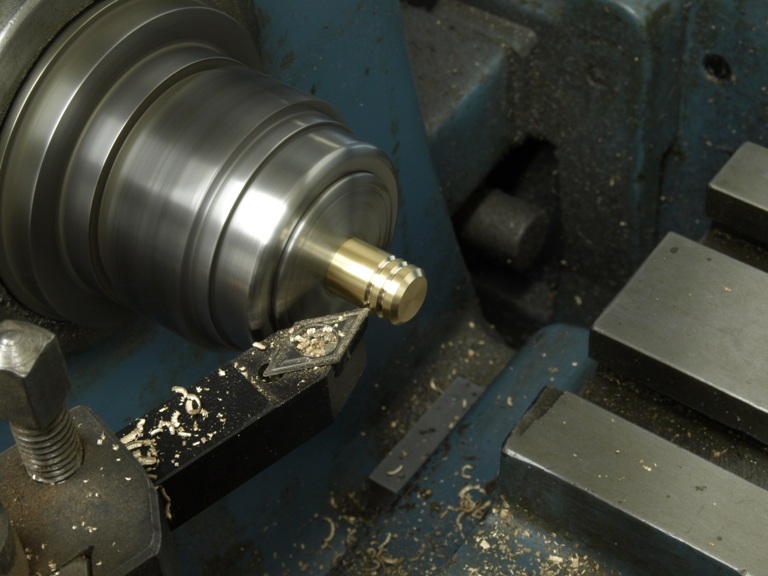
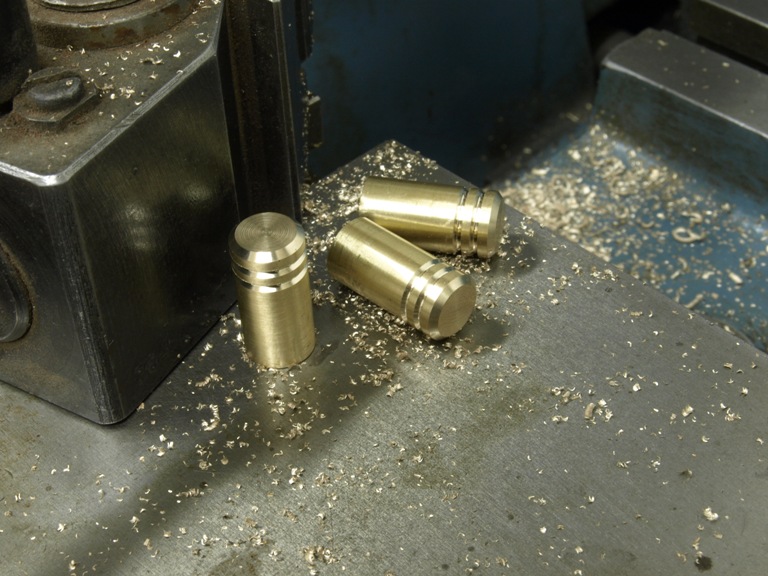
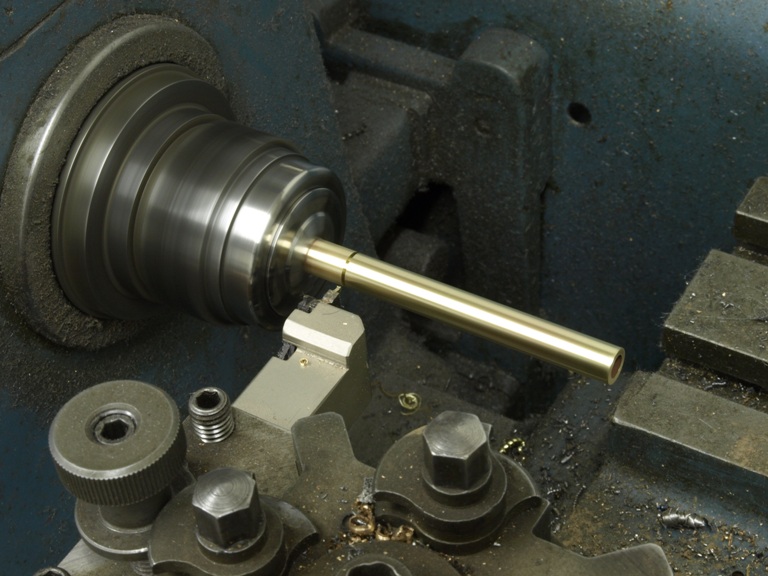
Parting off and trimming spacers which I use on all my infill planes for better dimensional stability.


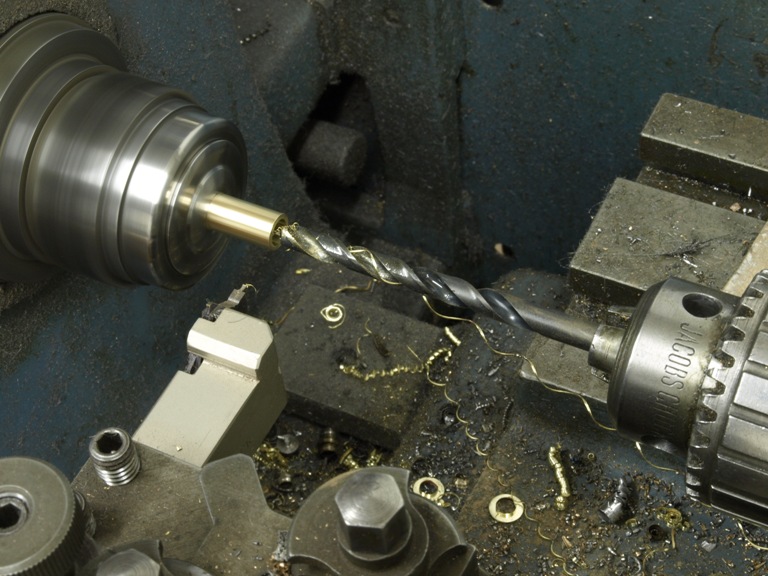
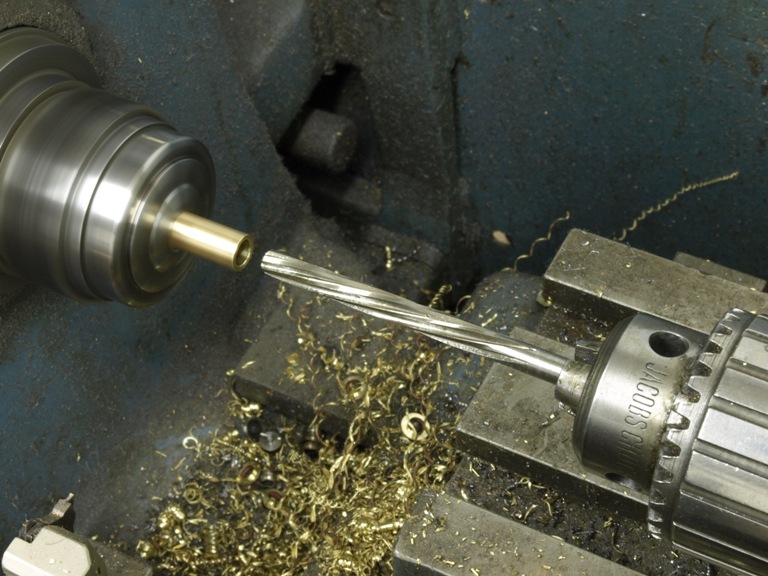
The spacers are drilled and reamed for the 7/32” rivet, from both ends for better concentricity.


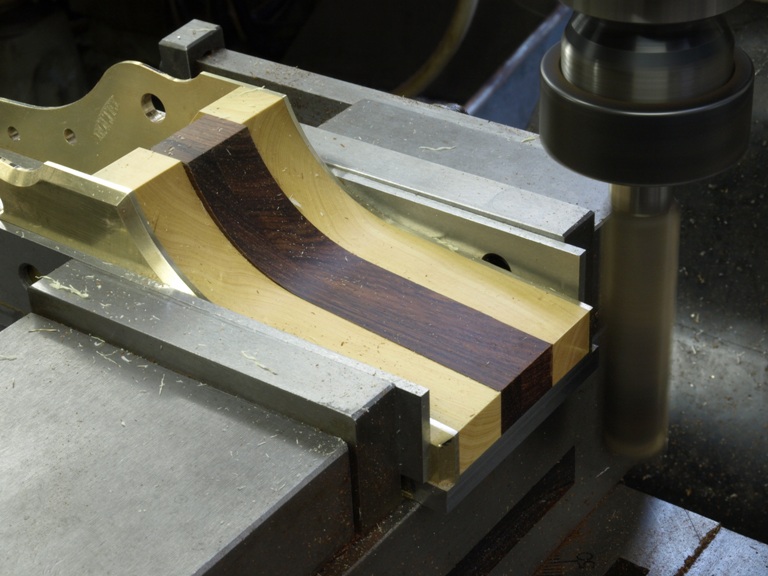
Flushing off rear infill.

This is done with a temporary spacer to represent the handle as it is too difficult to do this with the handle in position. I also use sleeper rivets and spacers for location


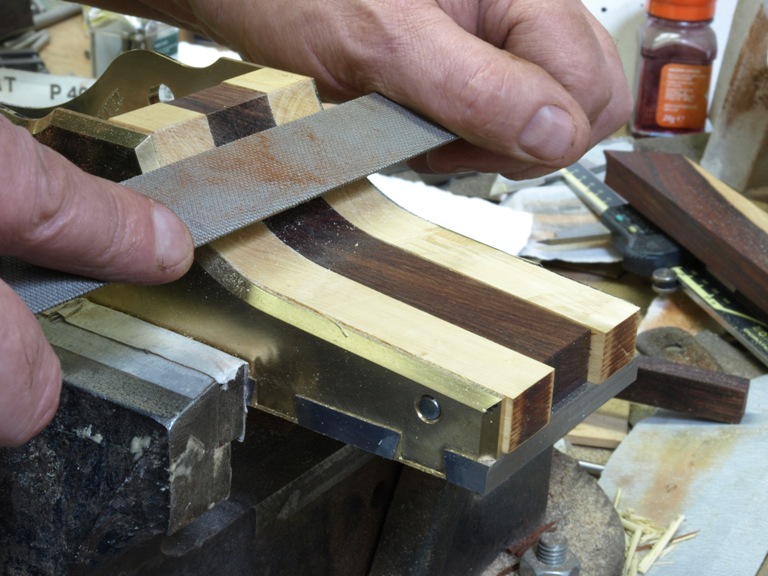
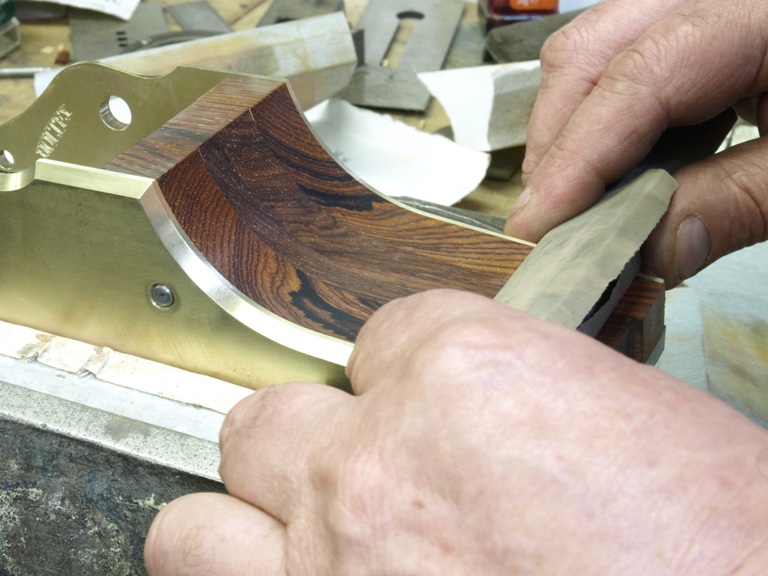
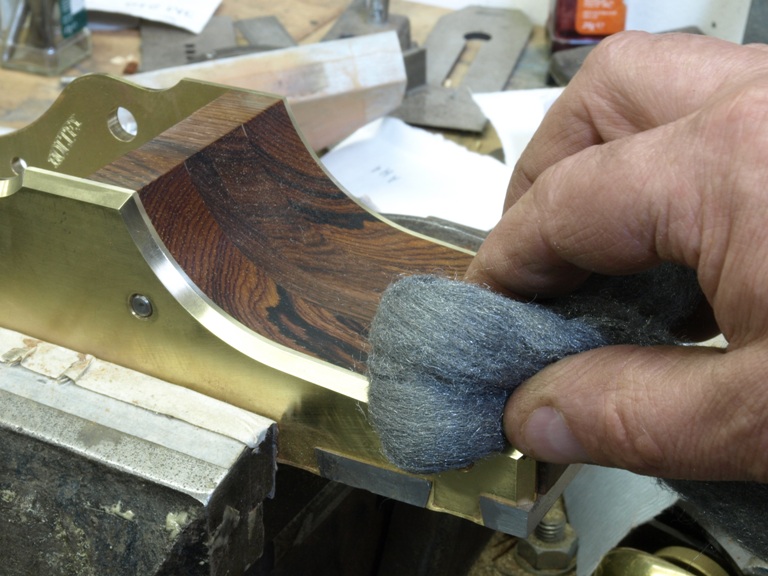
The polishing is done after excess materials have been removed.


At this stage the plane with its infill can be put into the milling vice to flush the end. After further polishing the infills are ready to accept the handle.


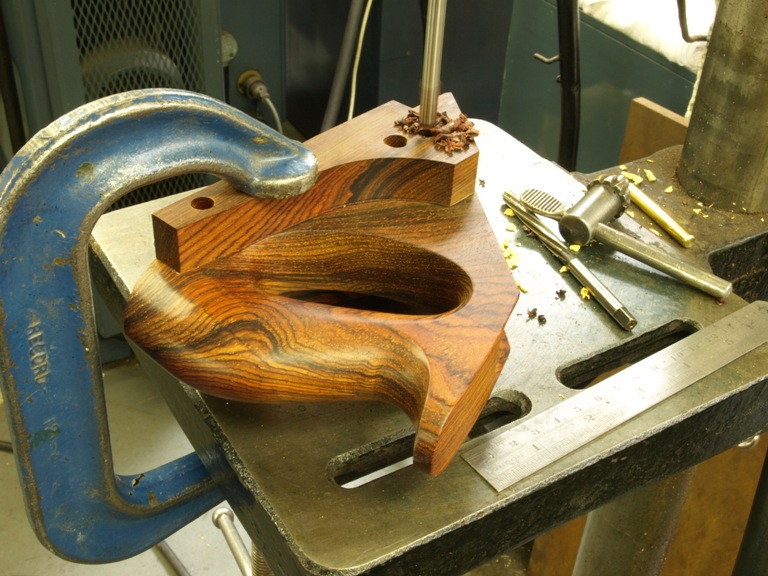
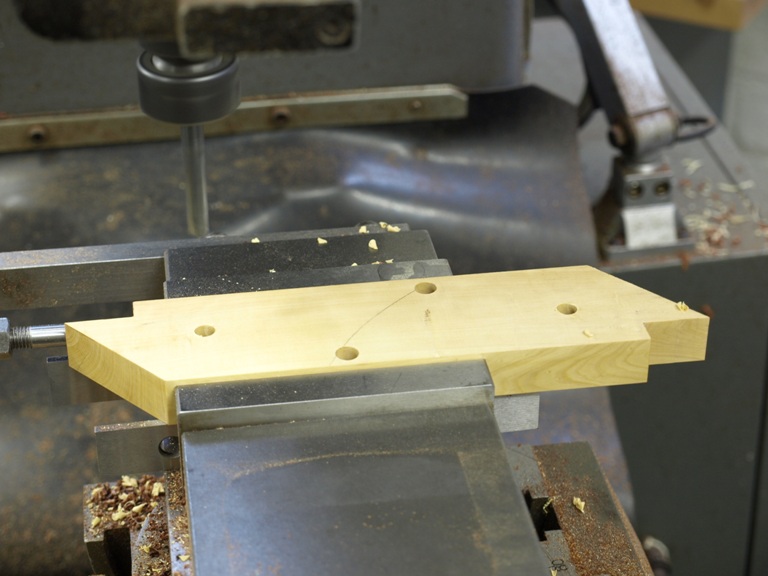
Even without any machines this is one piece of equipment that everyone should have – just an ordinary drill press. This picture shows the drill press being used to drill the hole for the brass bar which is then drilled and tapped later on in situ for the adjuster fixing.


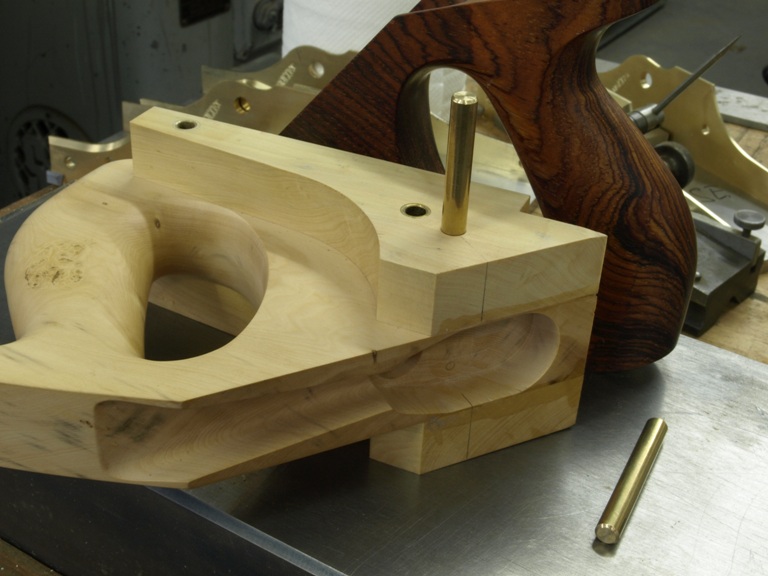
Inserting the brass bar for the adjuster fixing.

Window to my Workshop 9

Making of A13 part two

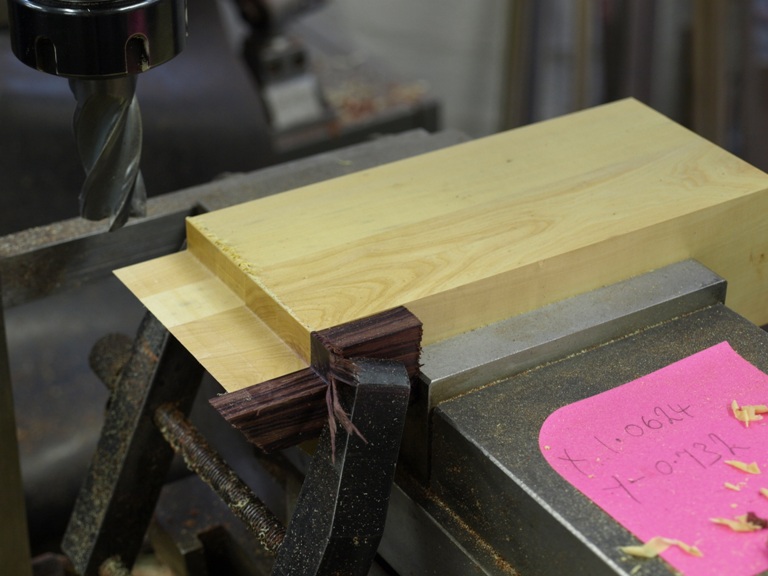
Much of the infill work is always trued up flat and square before any of the work commences, as in most woodworking projects.

In this picture are the rear infill sides showing the frog area routered away and this gives me a datum stop which helps me work out the drilling positions and its position in the plane. This will also be the same with the handle.

This is one pair of A13 rear infills being drilled for rivet spacers. Note the frog cut out being used as a stop. After this is done then I can drop a template over the holes to mark out the cutting line for band sawing.

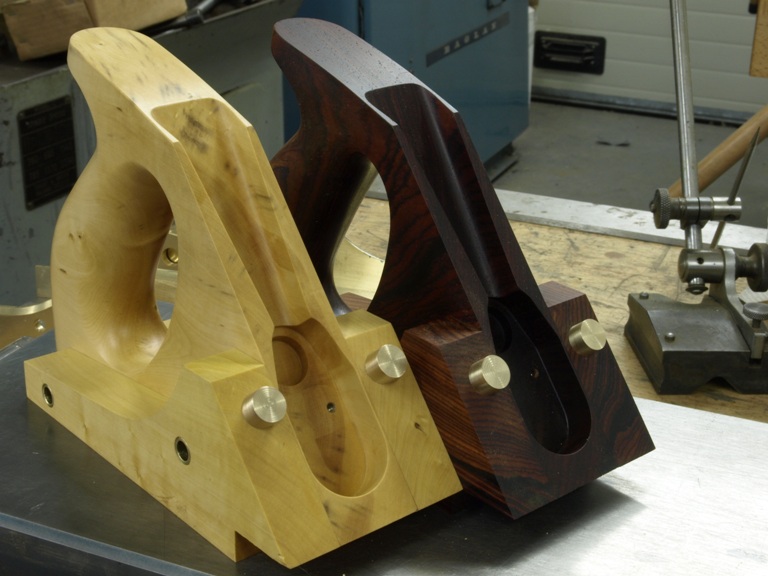
This is the handle being drilled for rivet spacers using the same stops. As you can see I am making planes with rosewood and boxwood at the same time.

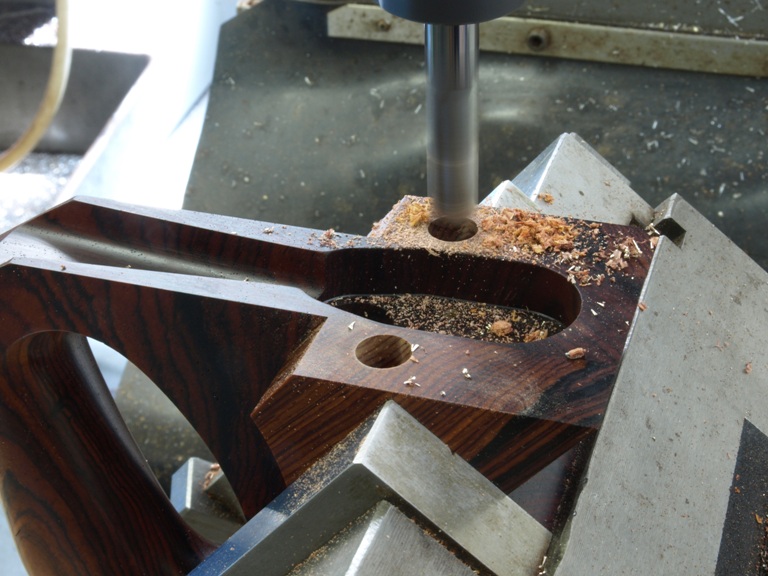
Whilst the holding fixture is still in position on the CNC milling machine it is prudent to use this for other work as all the datum positions are set up. Breaking down and setting up can be very time consuming and a little tiring on the grey cells.

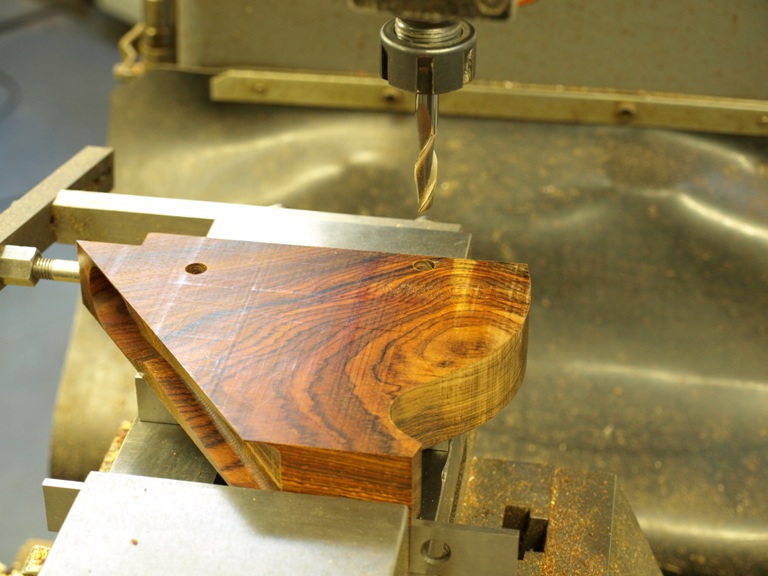
This picture shows the finger hole and handle being roughed out.

As I have said; taking advantage of the holding fixtures before they are taken down.

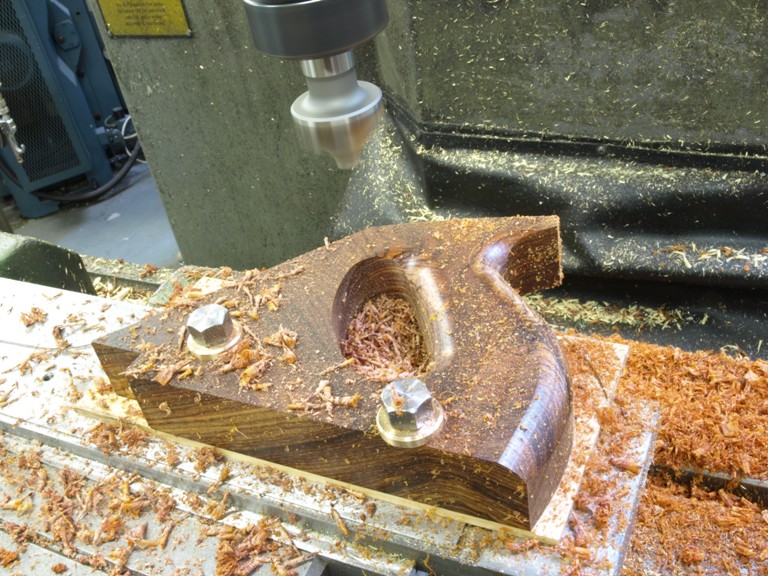
This is the final cut after using the band saw to cut the infills out. I use the CNC mill to cut the true form of the sides. I add on a few thou all round for better finishing.

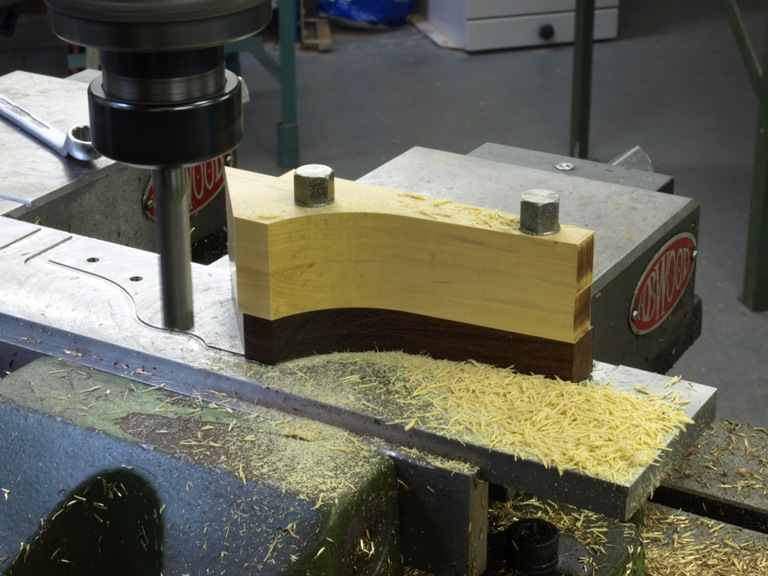
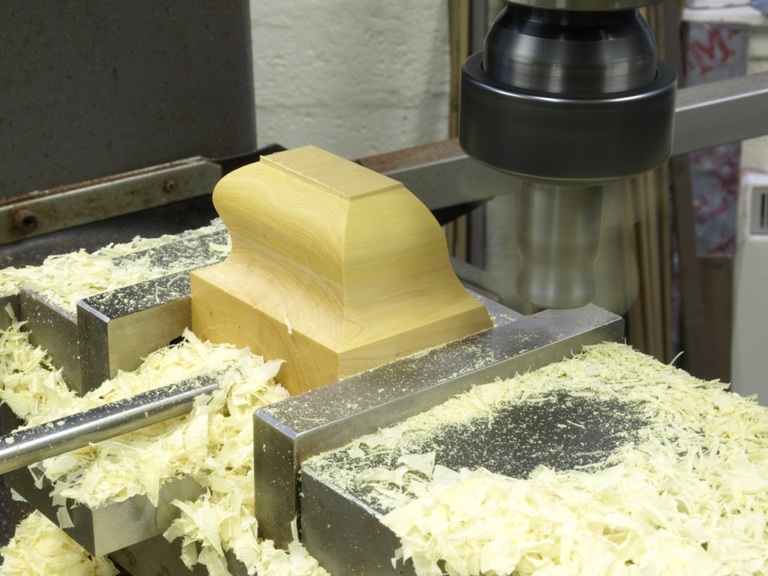
Using a manual milling machine with a purpose made cutter to produce a moulded form on the front bun. This is very accurate on a milling machine especially equipped with a DRO.

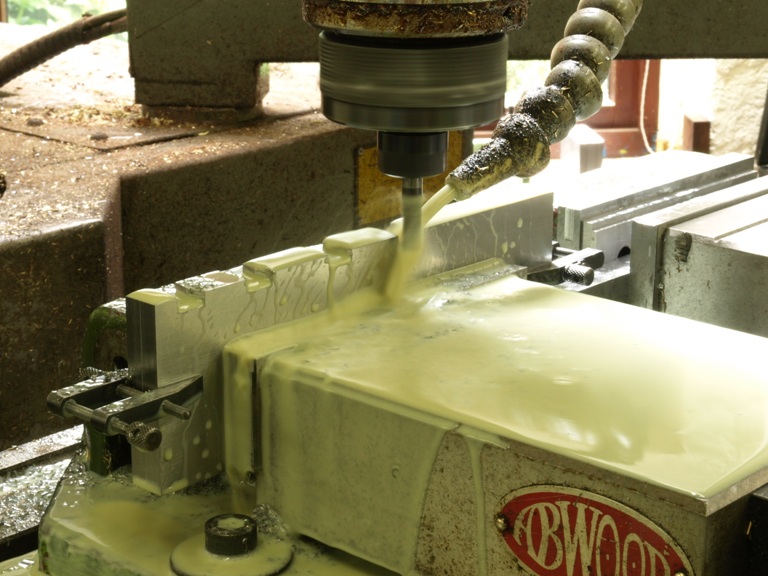
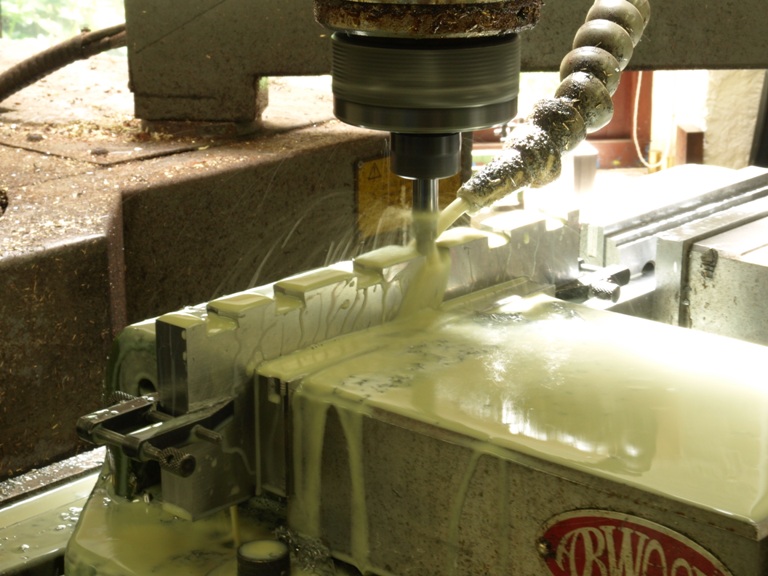
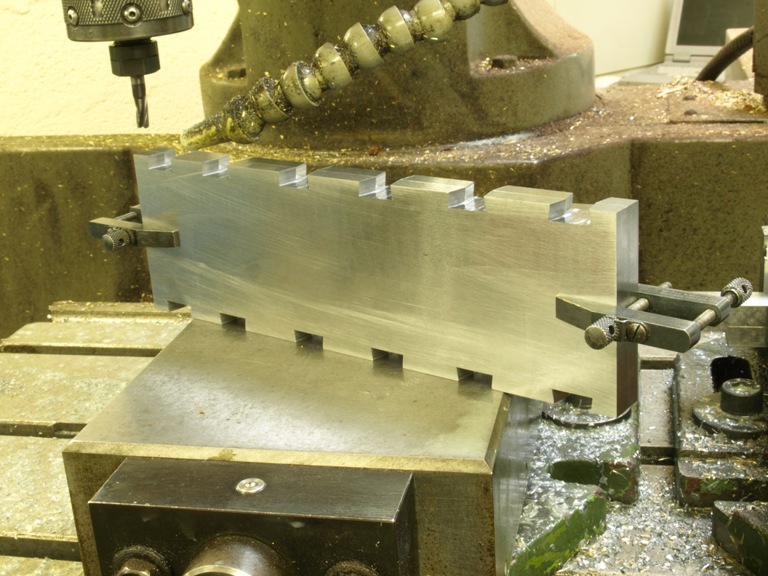
Milling the dovetail pins on the A13 plane bottoms.

Milling these is very advantageous on a CNC milling machine as I can work two bottoms together face to face in mirror form. I have a left and a right side of the bottom being worked together. With a dovetail form cutter and tracking in a butterfly pattern this allows me a left and right cut. I use three different cutters for this process – roughing, finishing and form cutters.

After cutting the compound dovetails in the plane bottoms.

At the risk of criticism from the purists I will say that with some very careful setting up I can produce a near perfect fit between the sides and the bottom without filing.

June 24, 2009

Introduction

Welcome to my blog.  It is my intention to use this forum to give a better insight into my workshop so you can see what makes my planes different.  It may change some opinion when it comes to the pricing of my planes.  It will allow you to see ‘inside’ my planes where the work is hidden.

I will show my work piecemeal and in no set order as I have lots of things I want to say and show, both current and past.  I do not have the time to edit into any order.  I have a large archive of photographs which I will be publishing over a period of time.  Also I will discuss techniques etc on request if time permits.

Powered by WordPress